Pacific Northwest House

Orcas Island continued-walls removed/re-oriented!

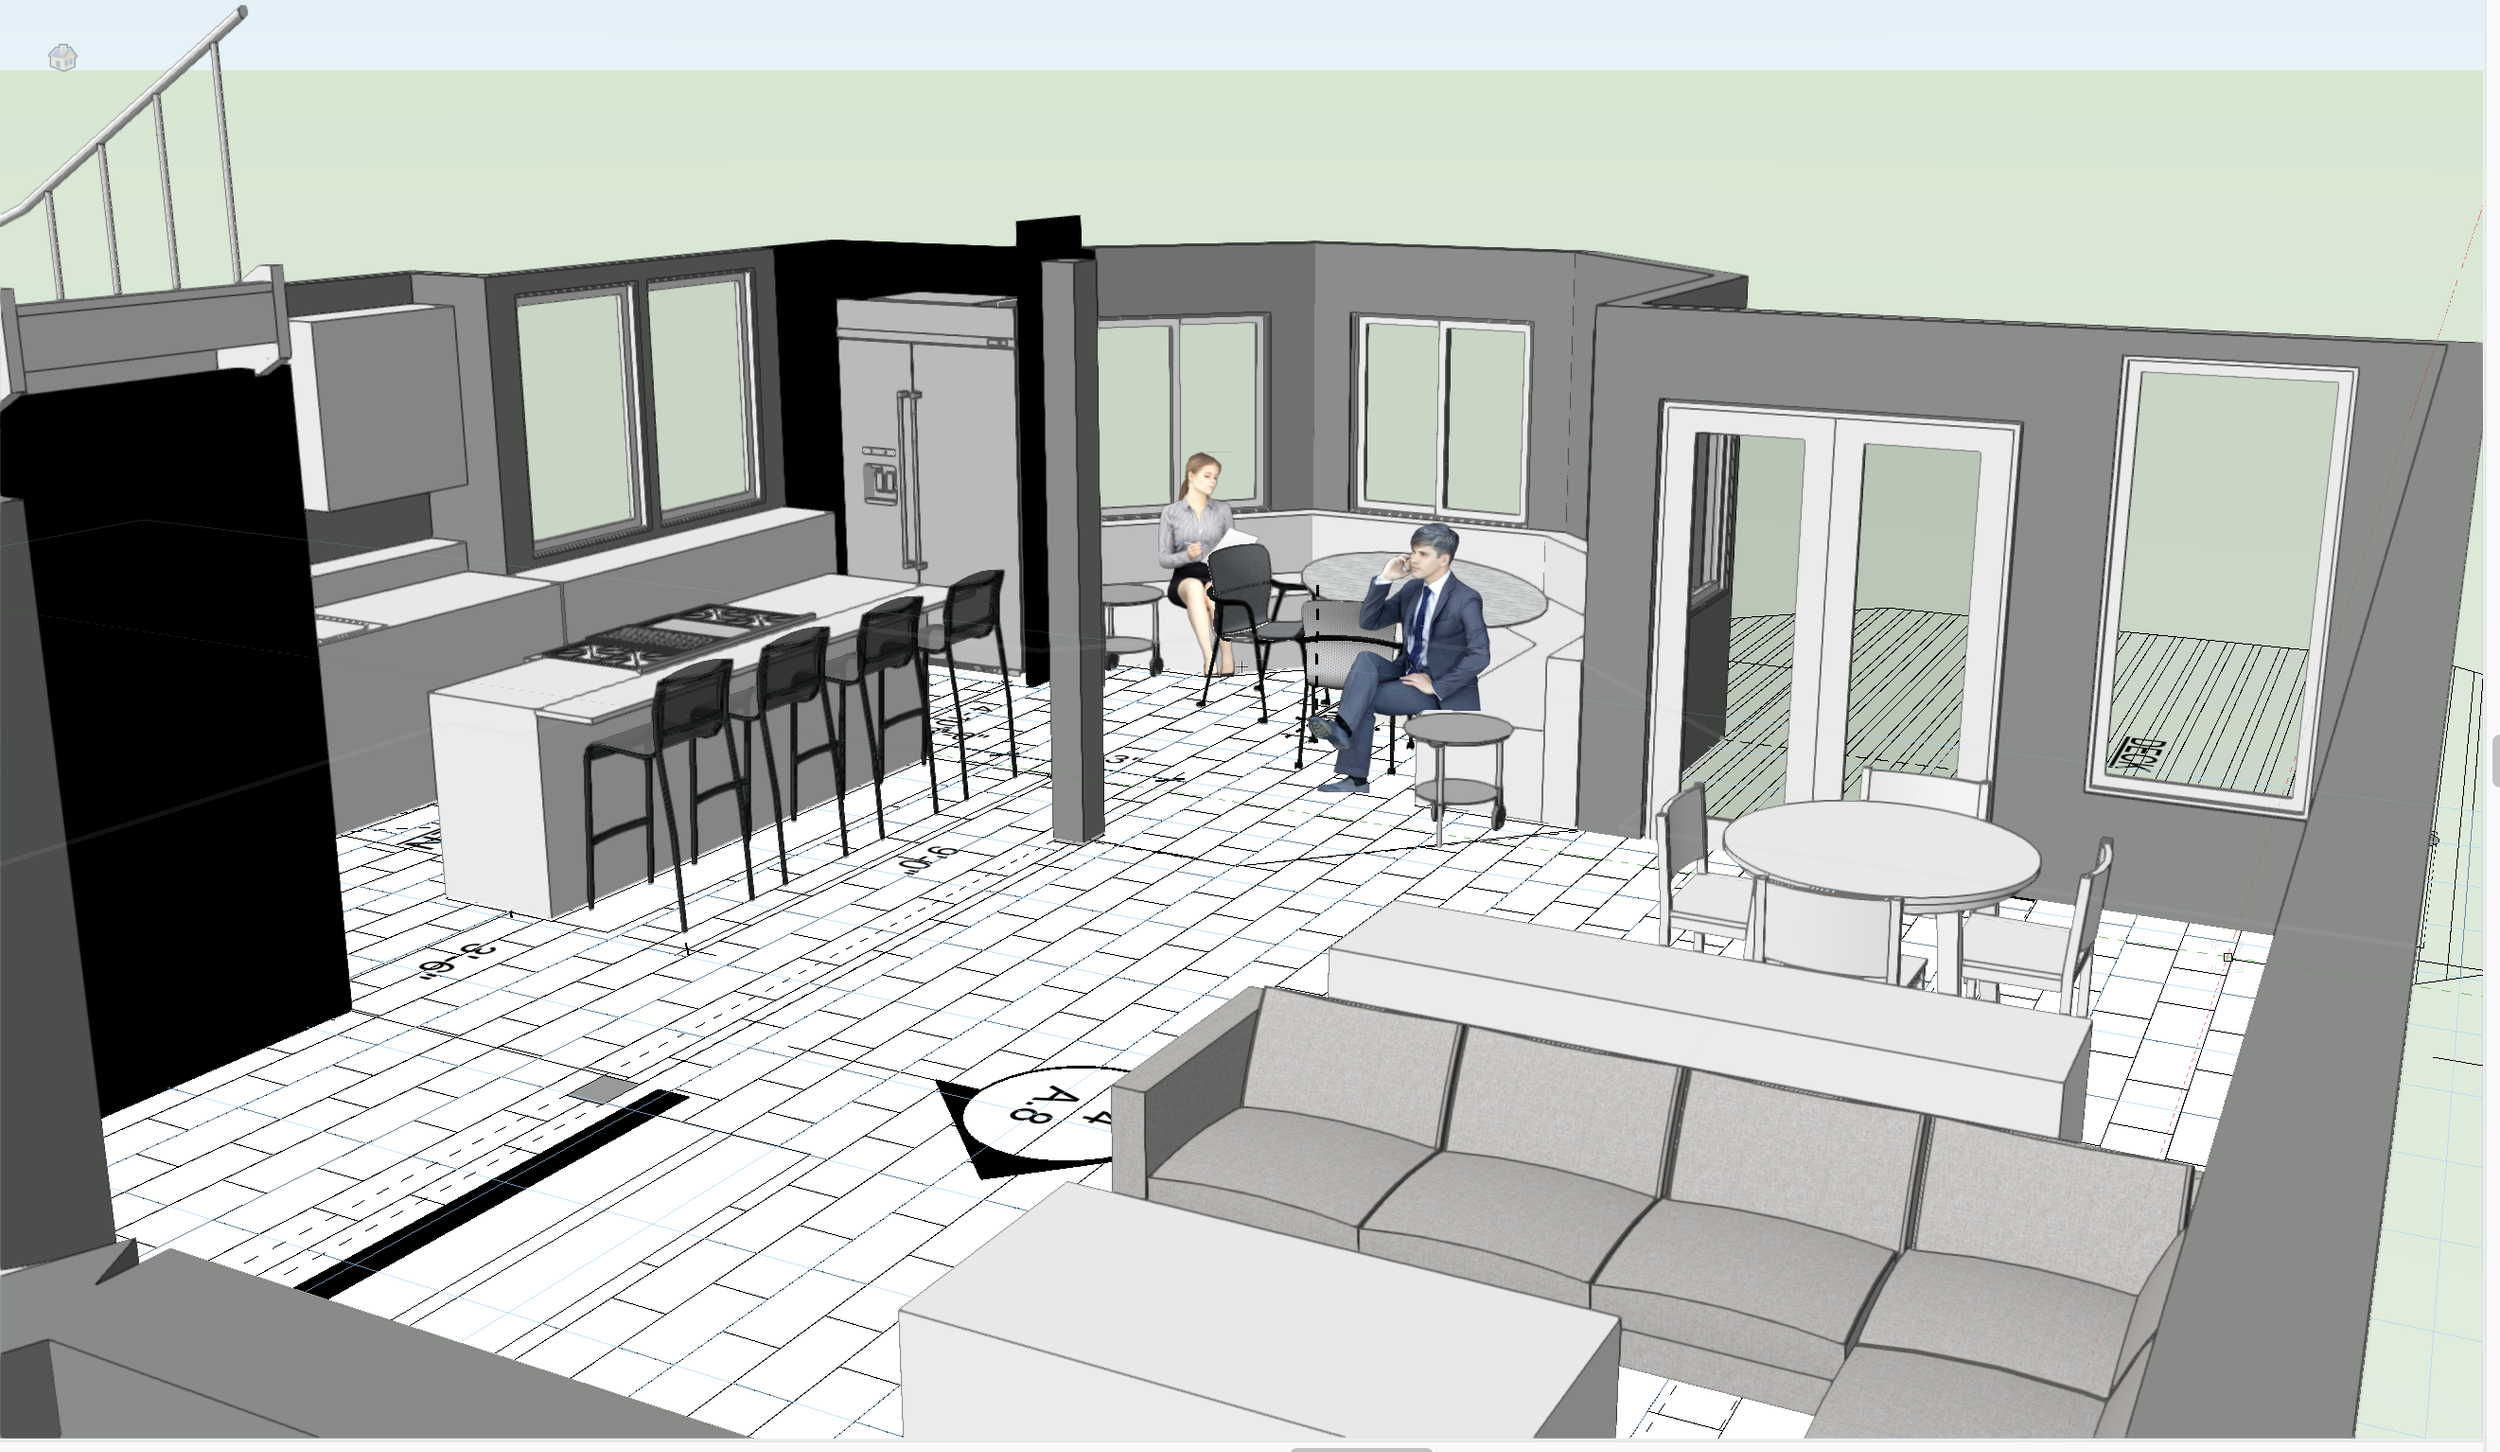
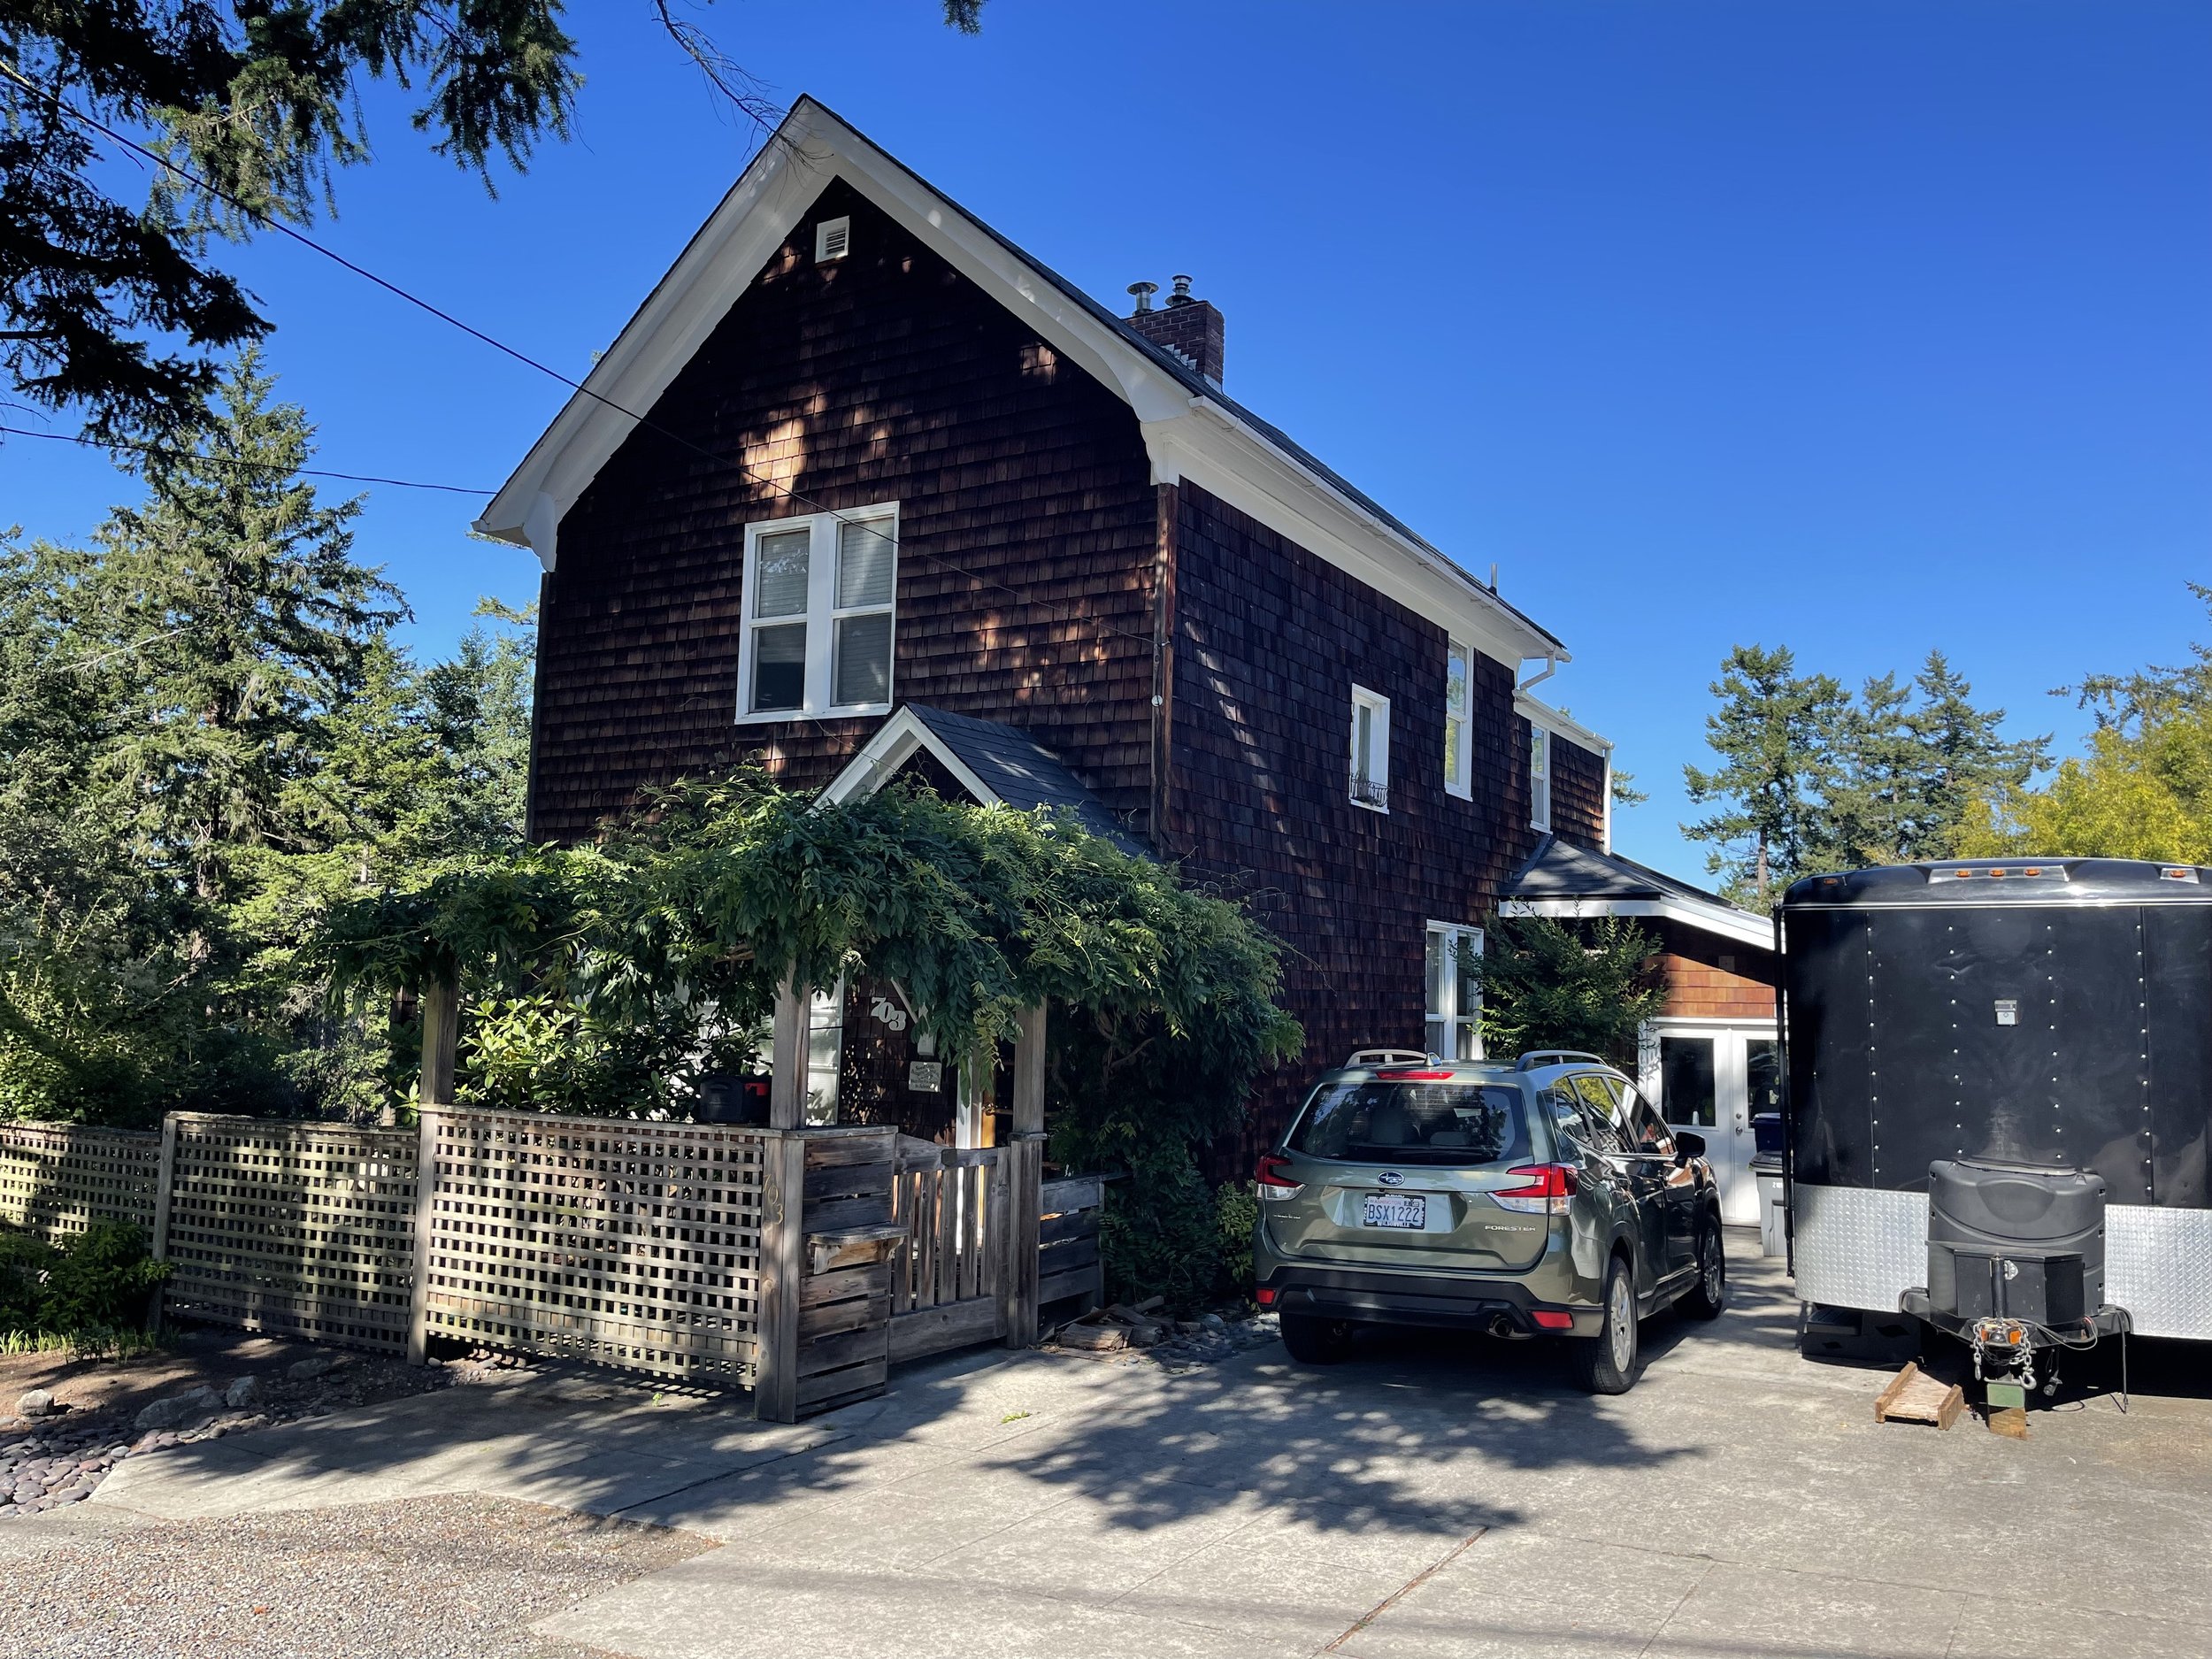
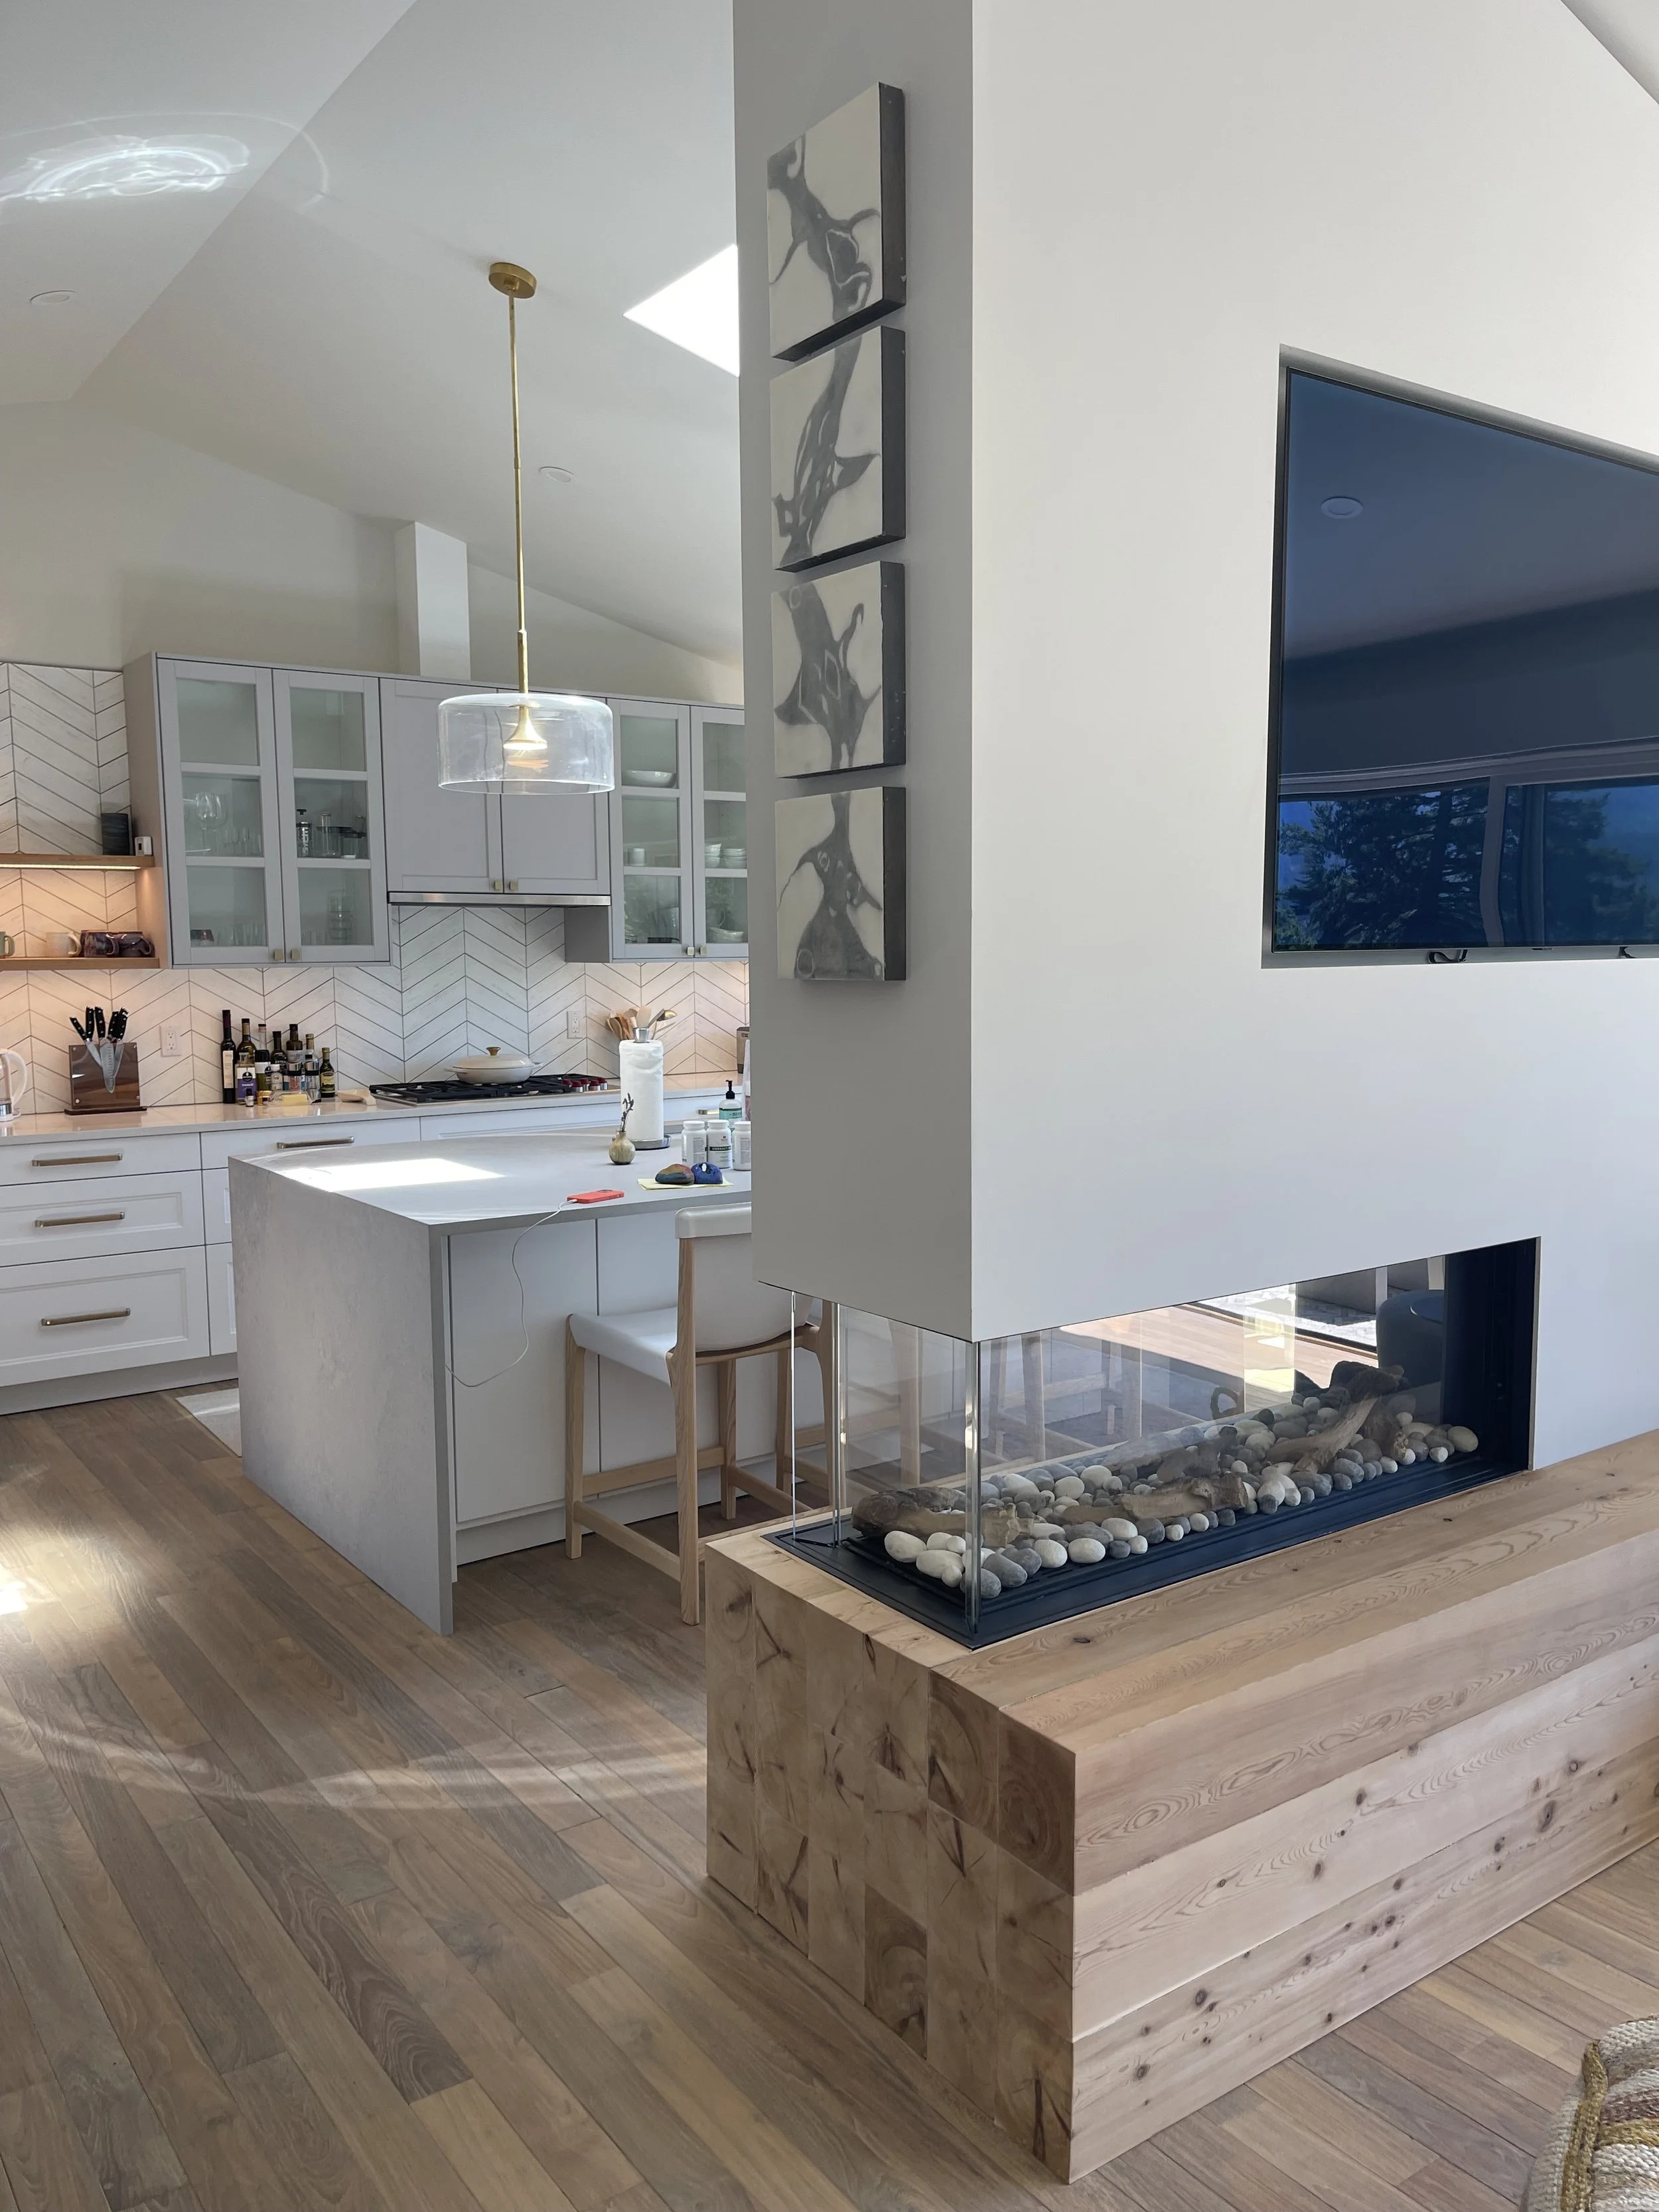
This is a continuation of the last project that has the new entry and staircase. The interior was gutted to the studs and interior walls were taken down to open up the space. A new 16’ wide sliding glass door was installed to replace a door and windows to open up the view to Rosario. A 3-sided gas fireplace was installed to connect the living area to the kitchen.

This is the other side looking into the kitchen. The new island has “Waterfall” sides.

Lookin into the lithe from the living room.

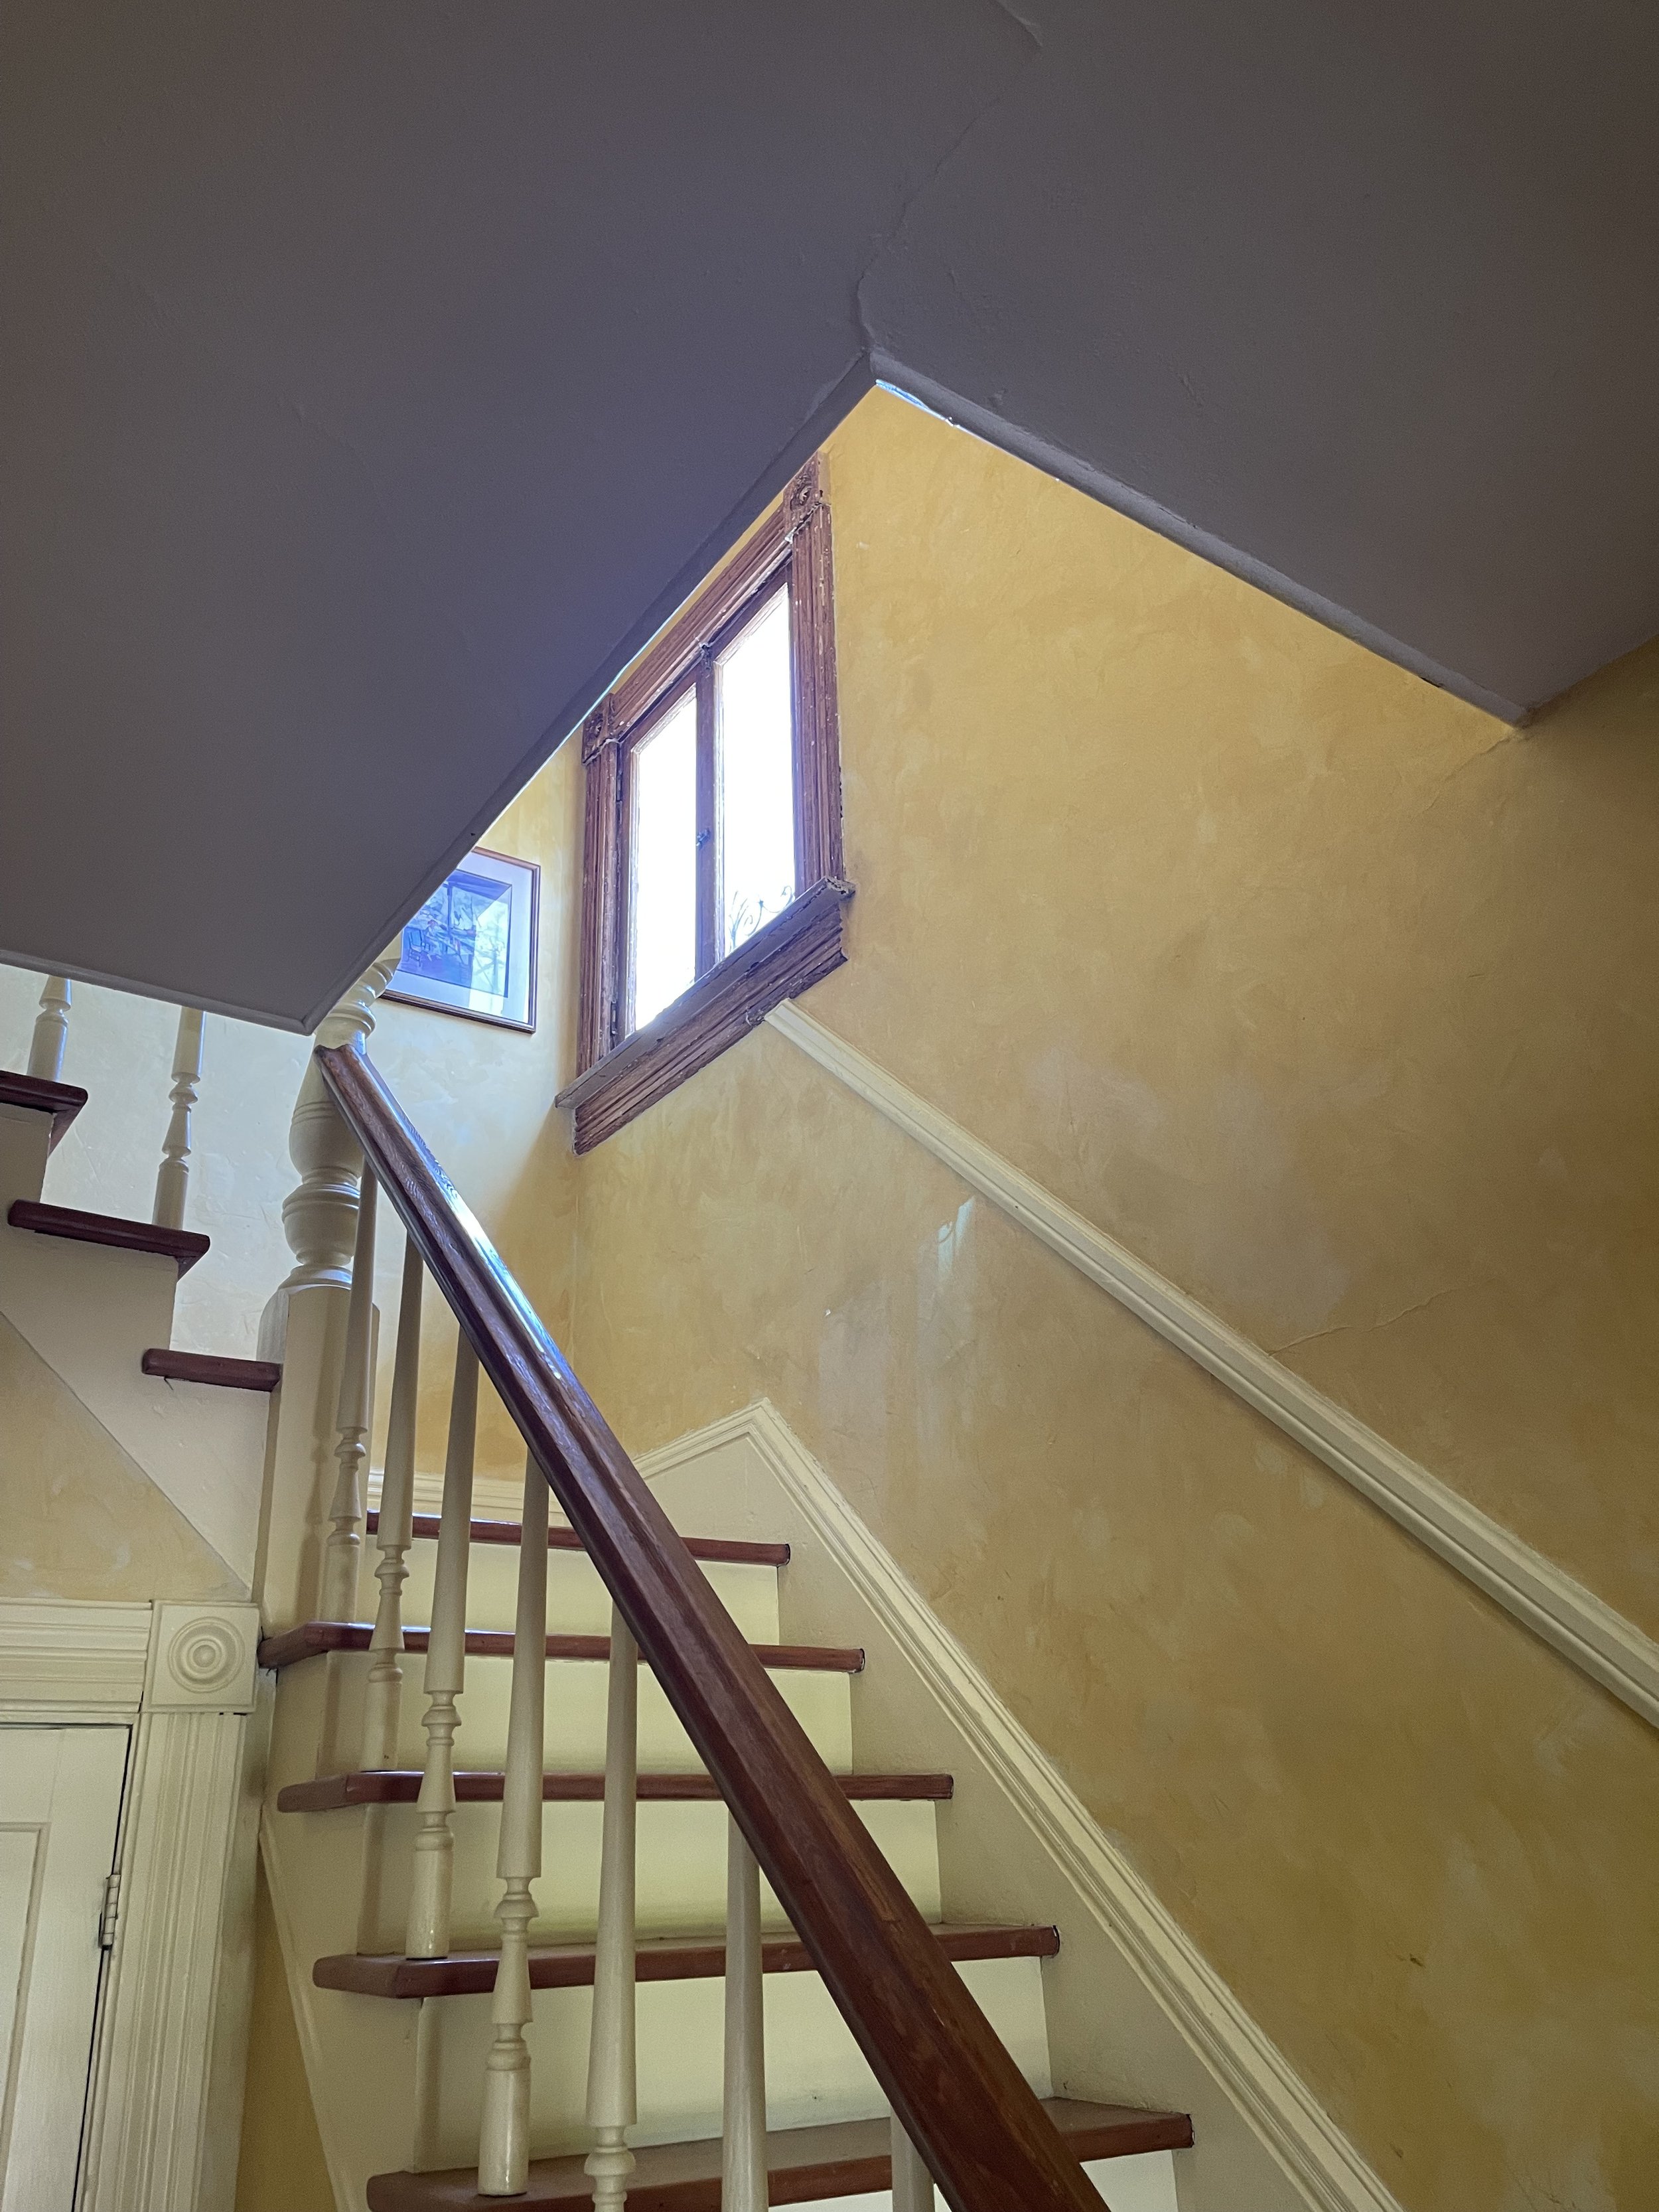
The other side of the living room with new staircase visible on the left, that connects the 2 levels.

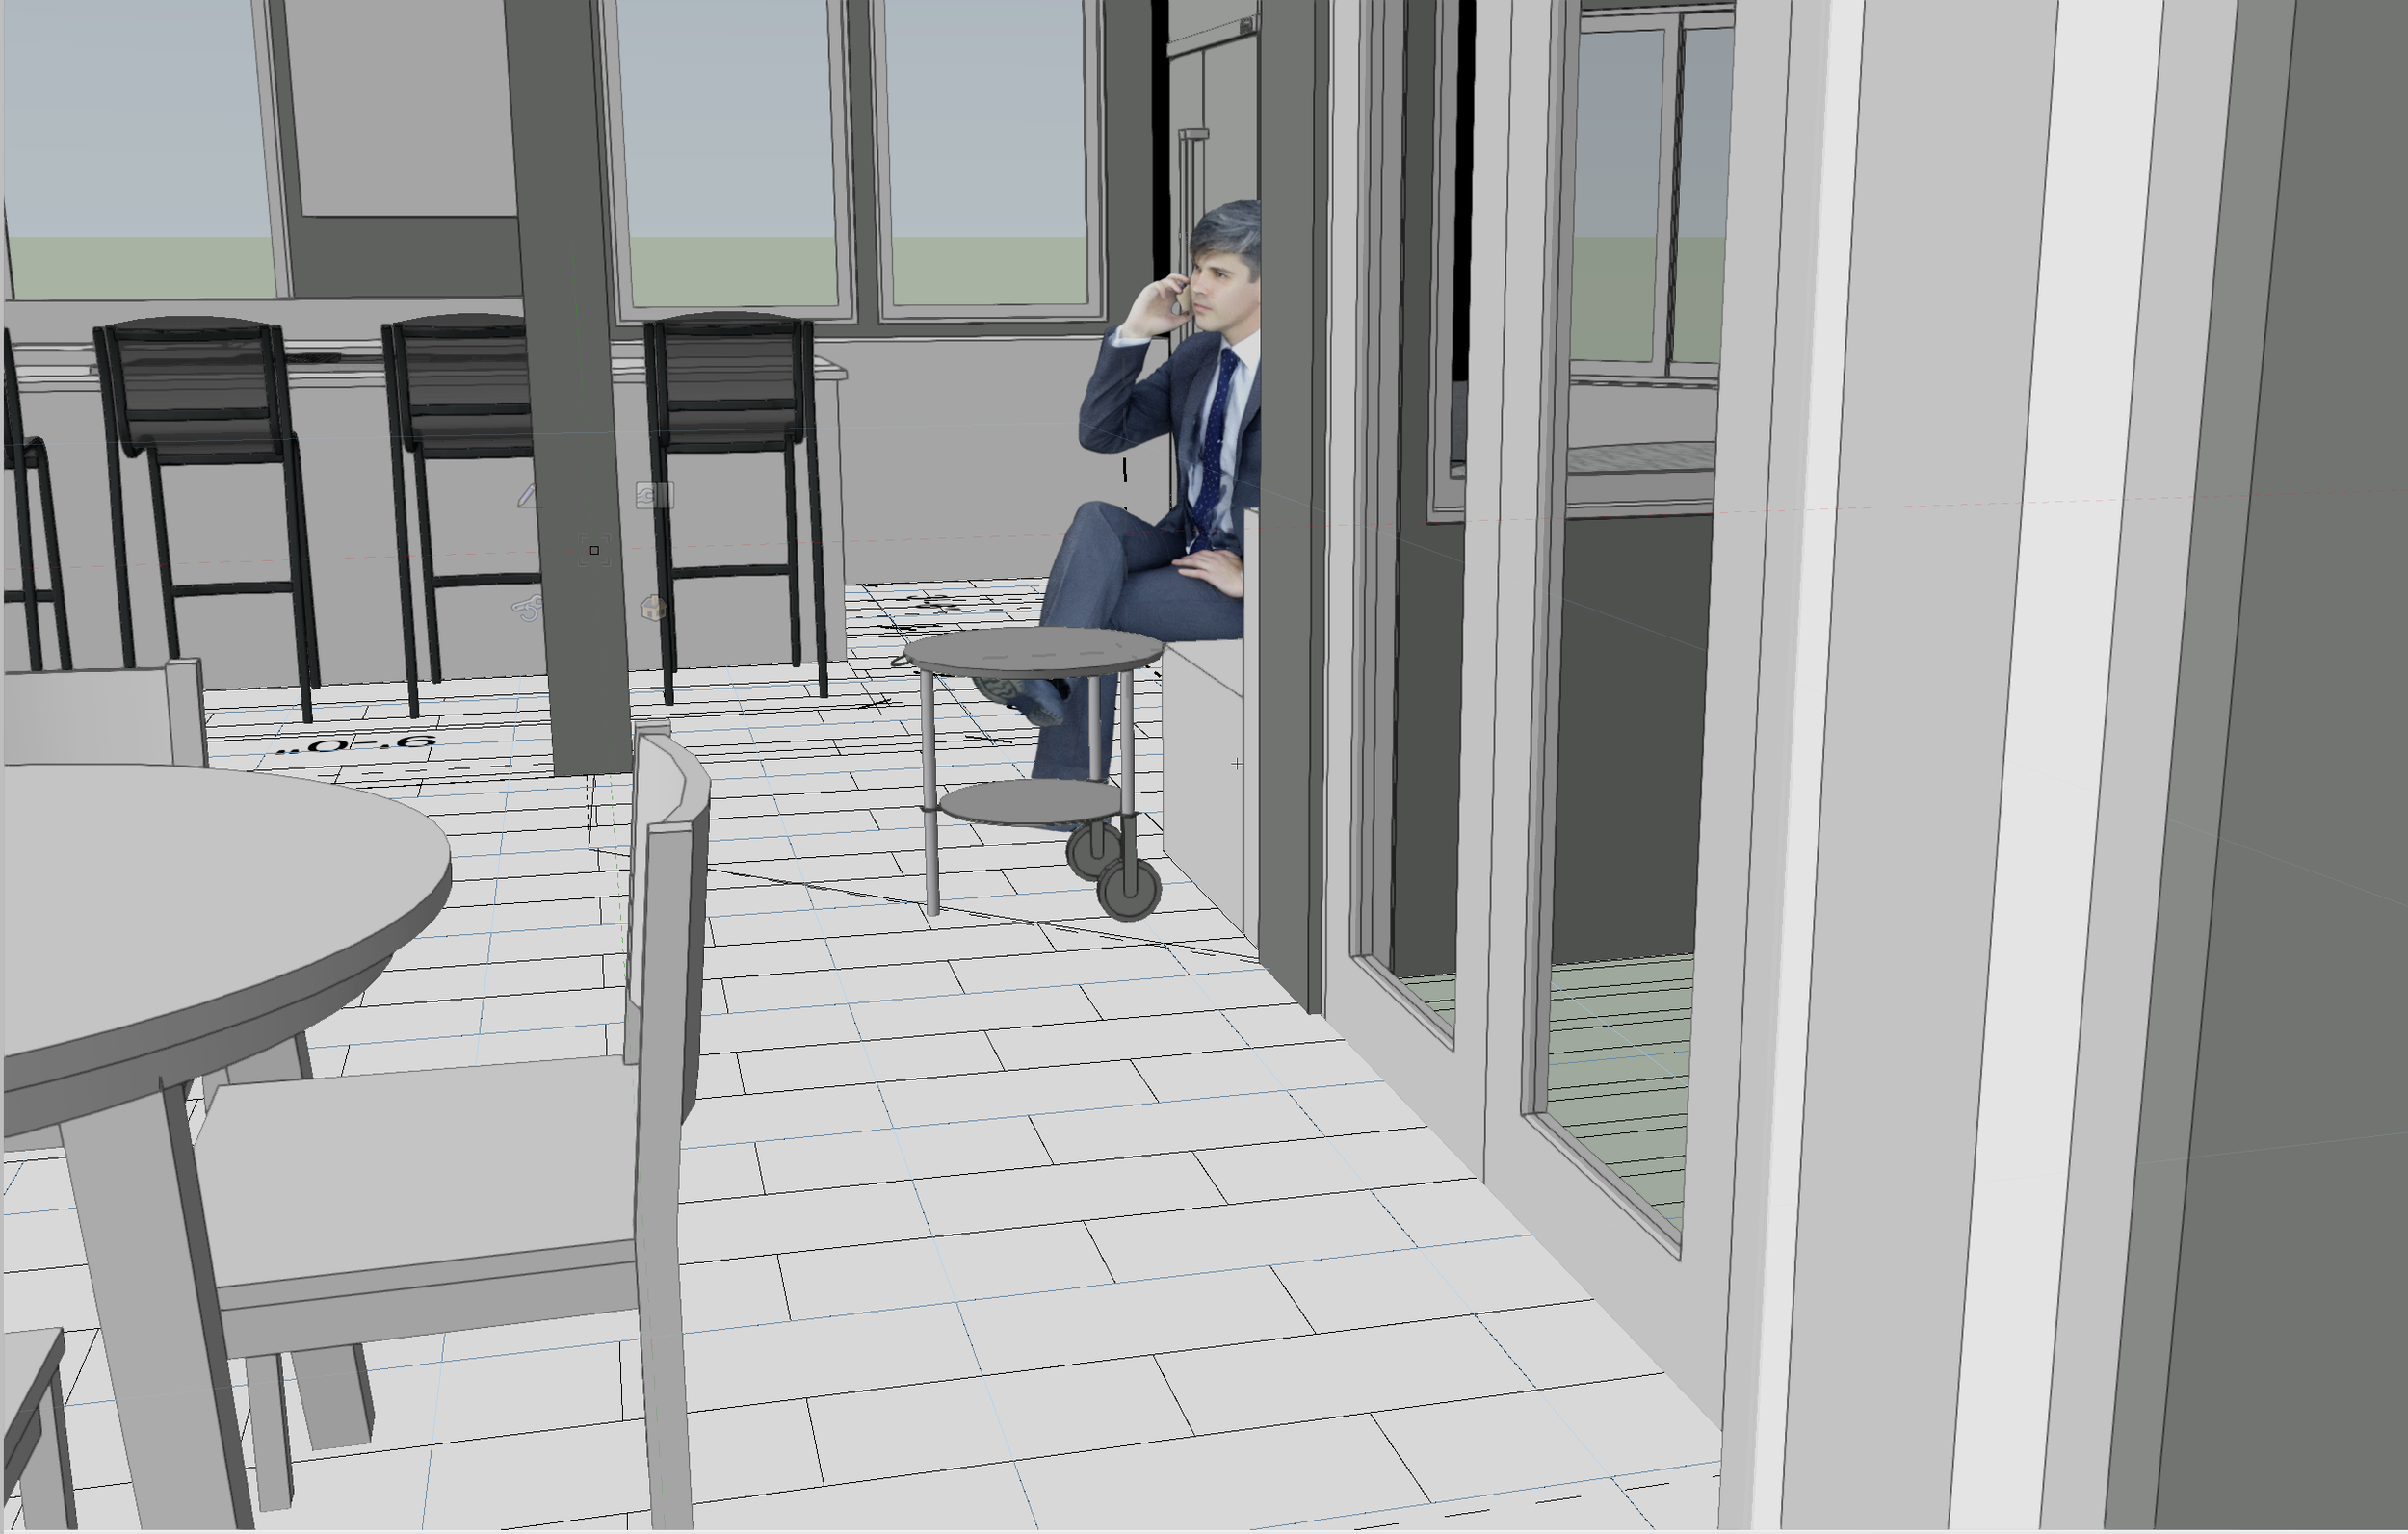
Love the new banquet!

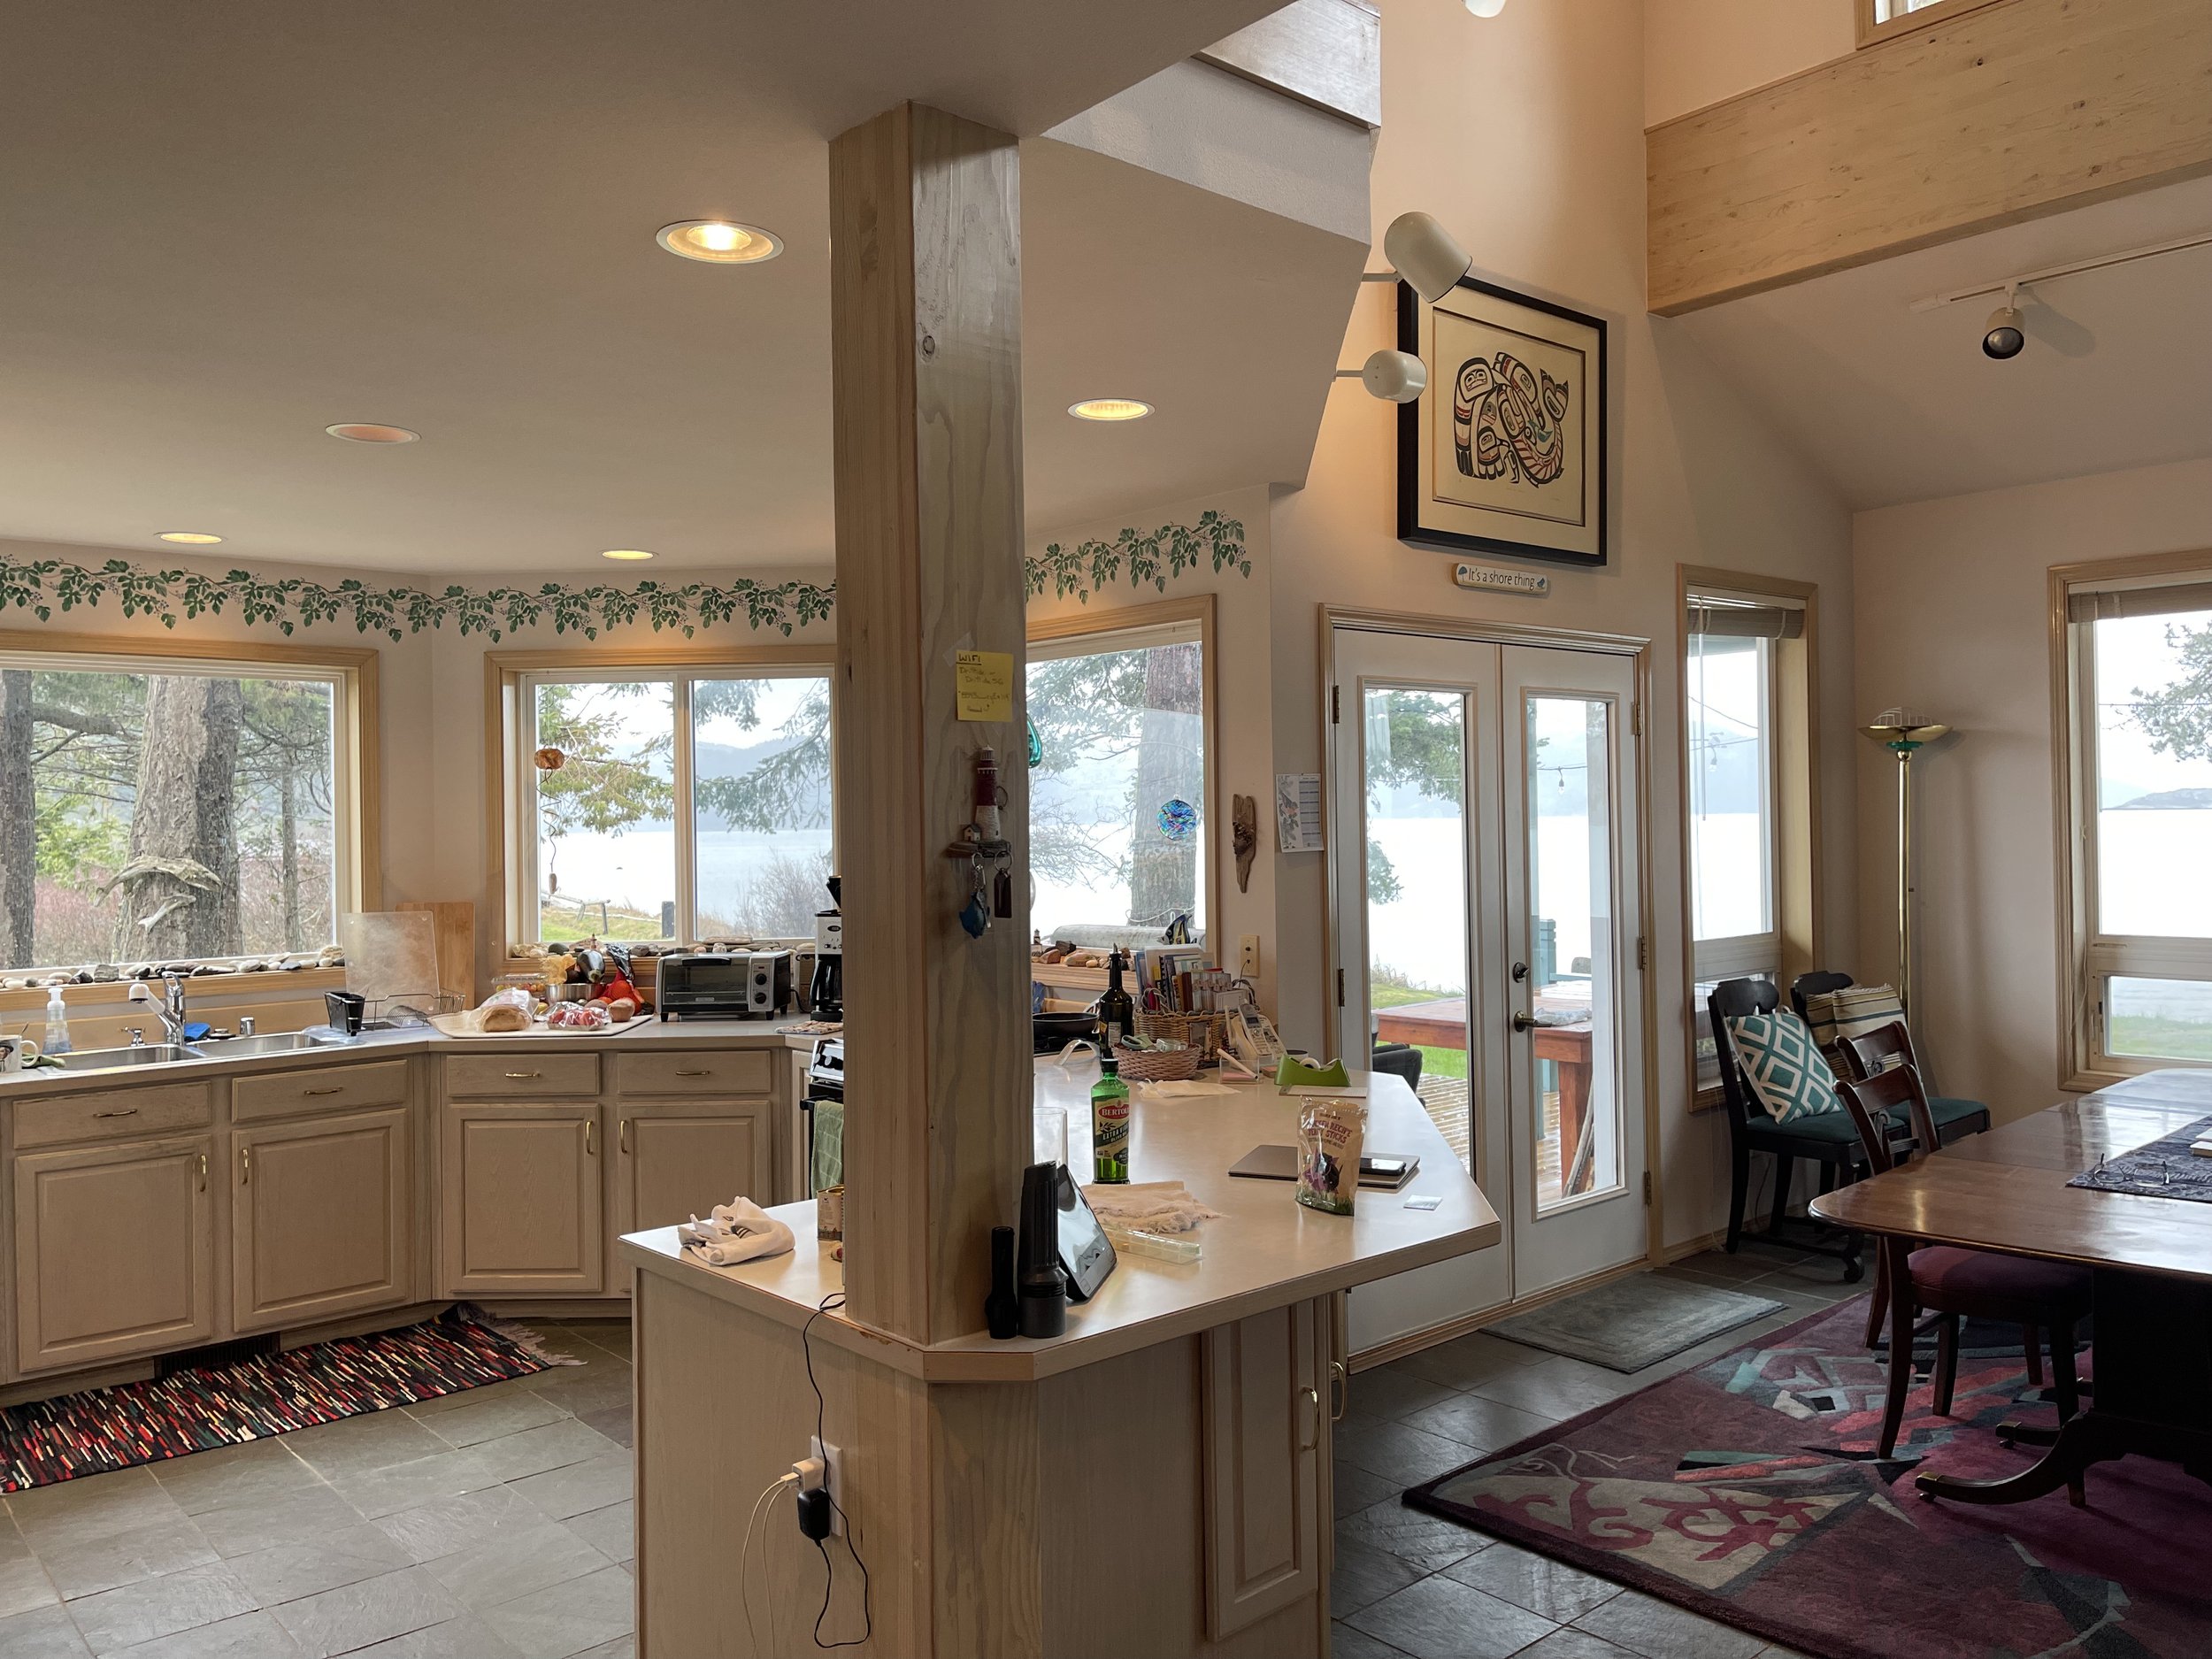
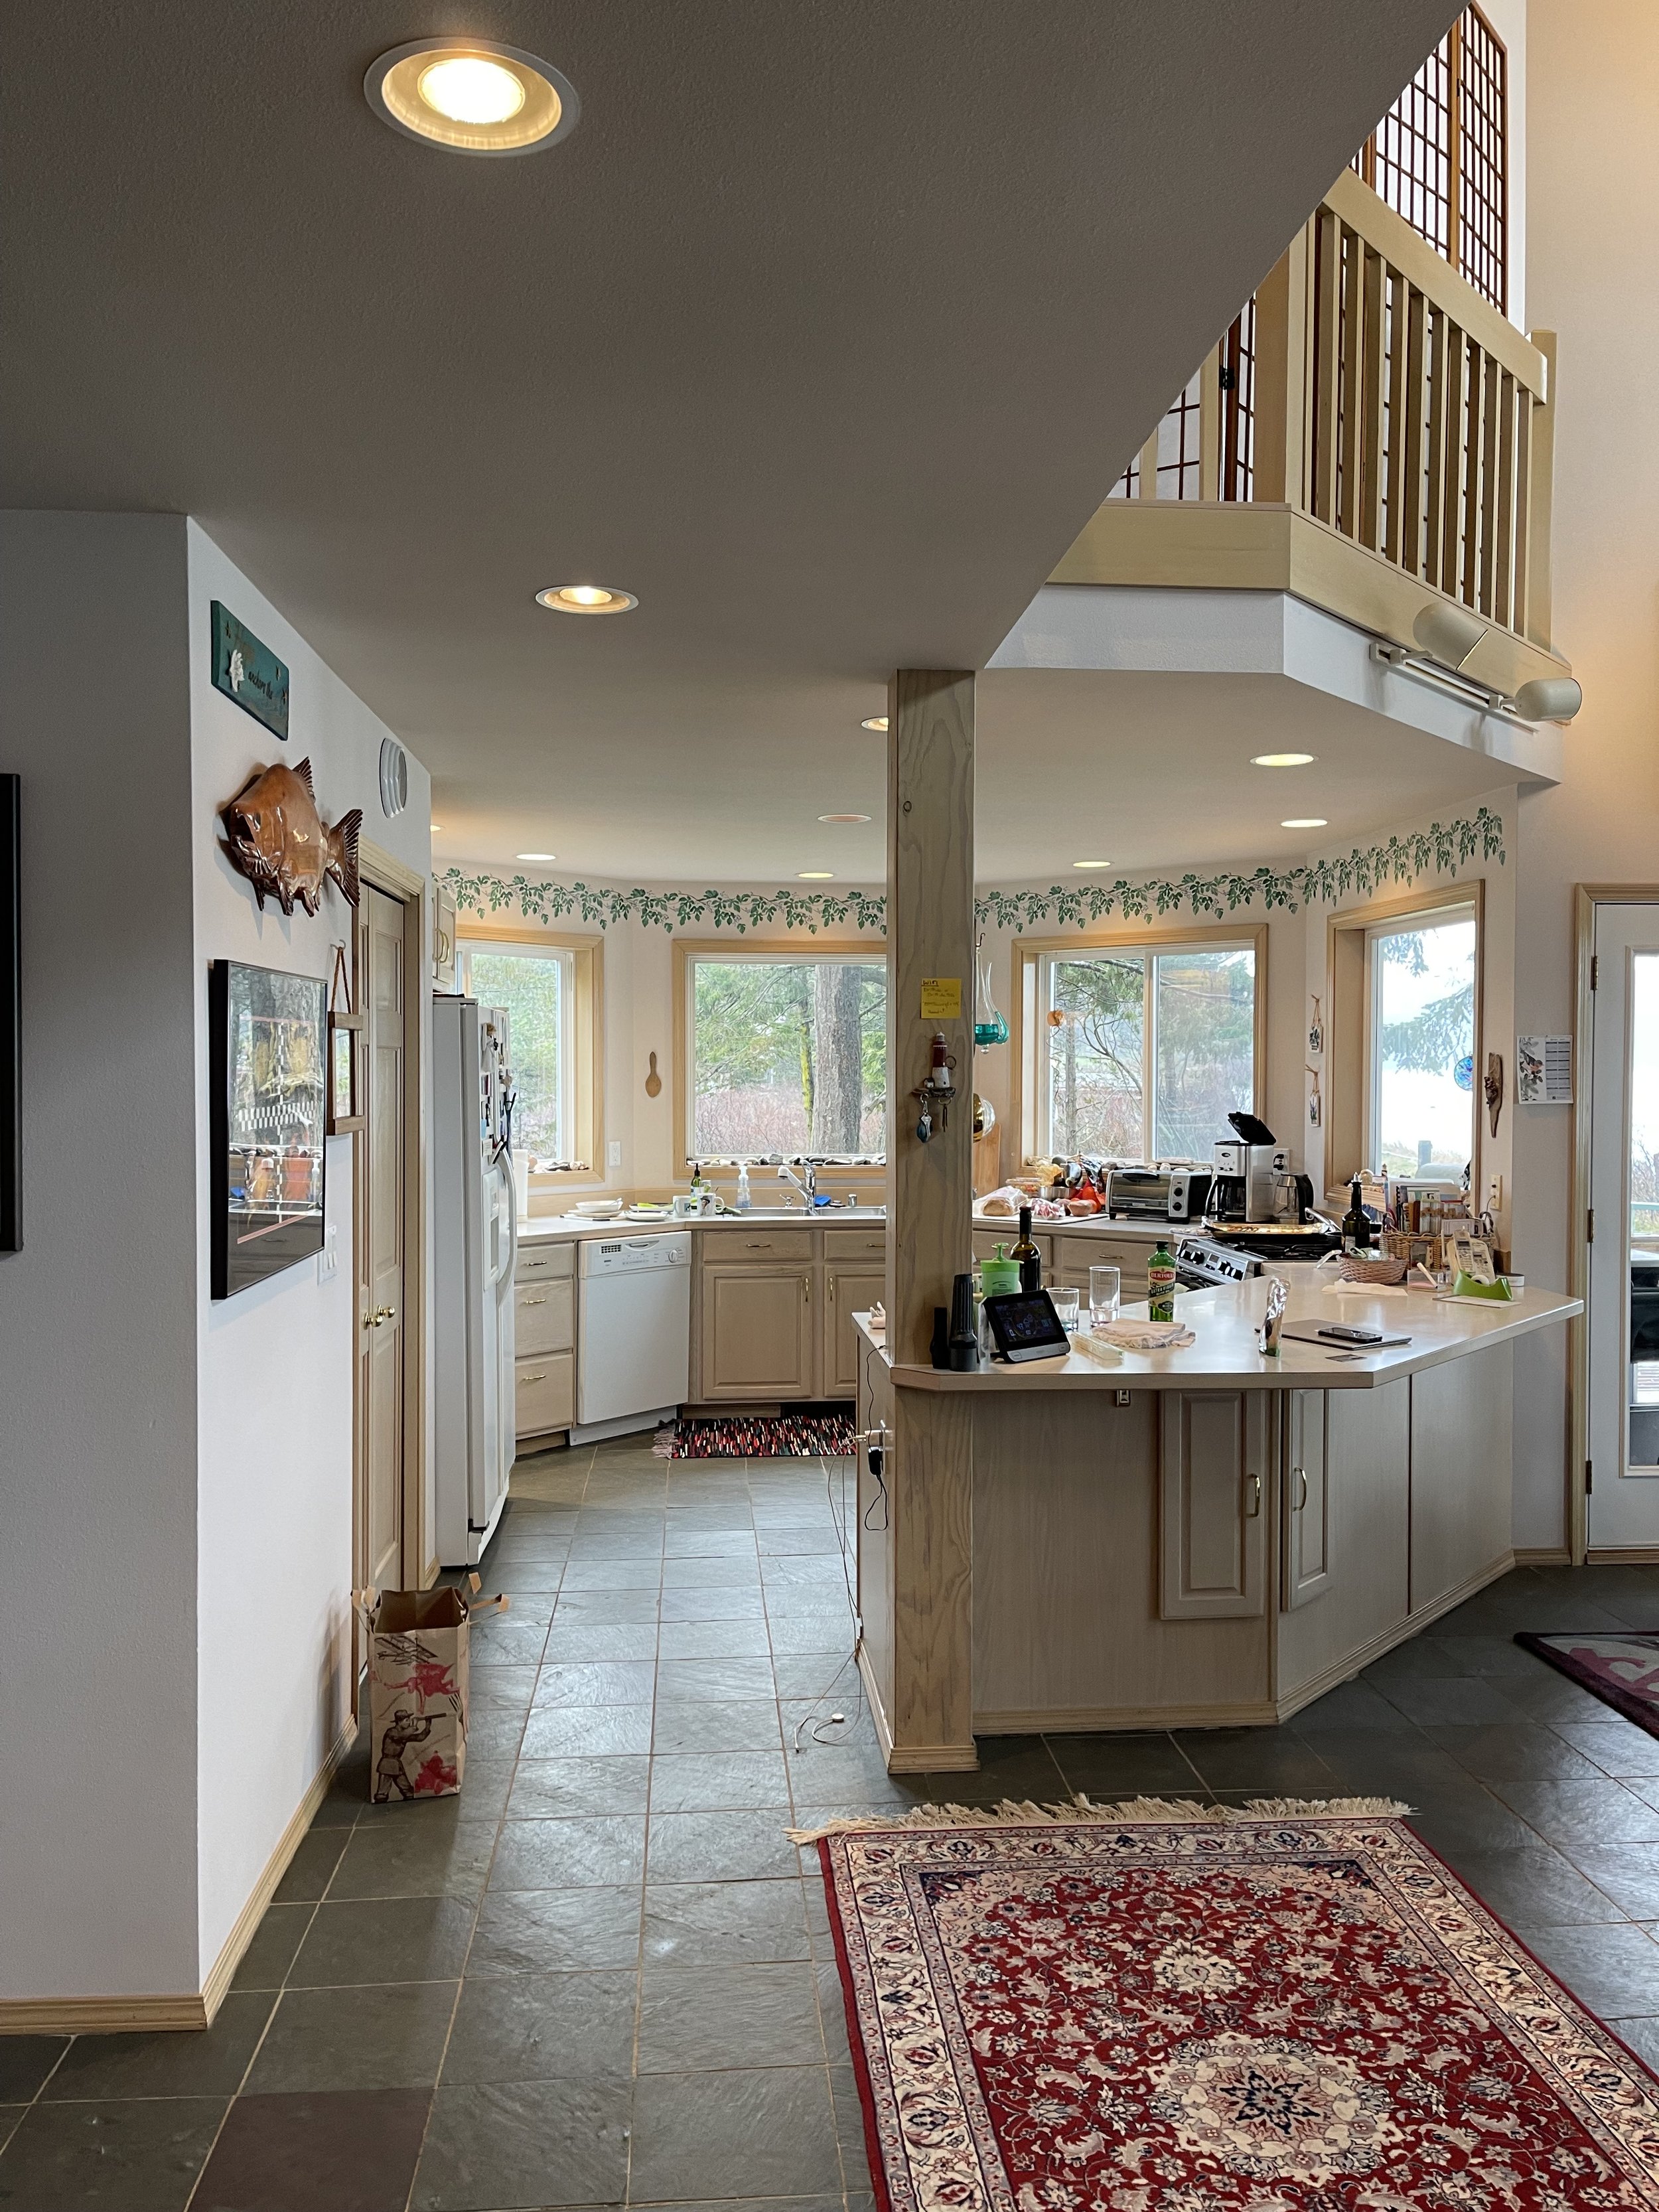
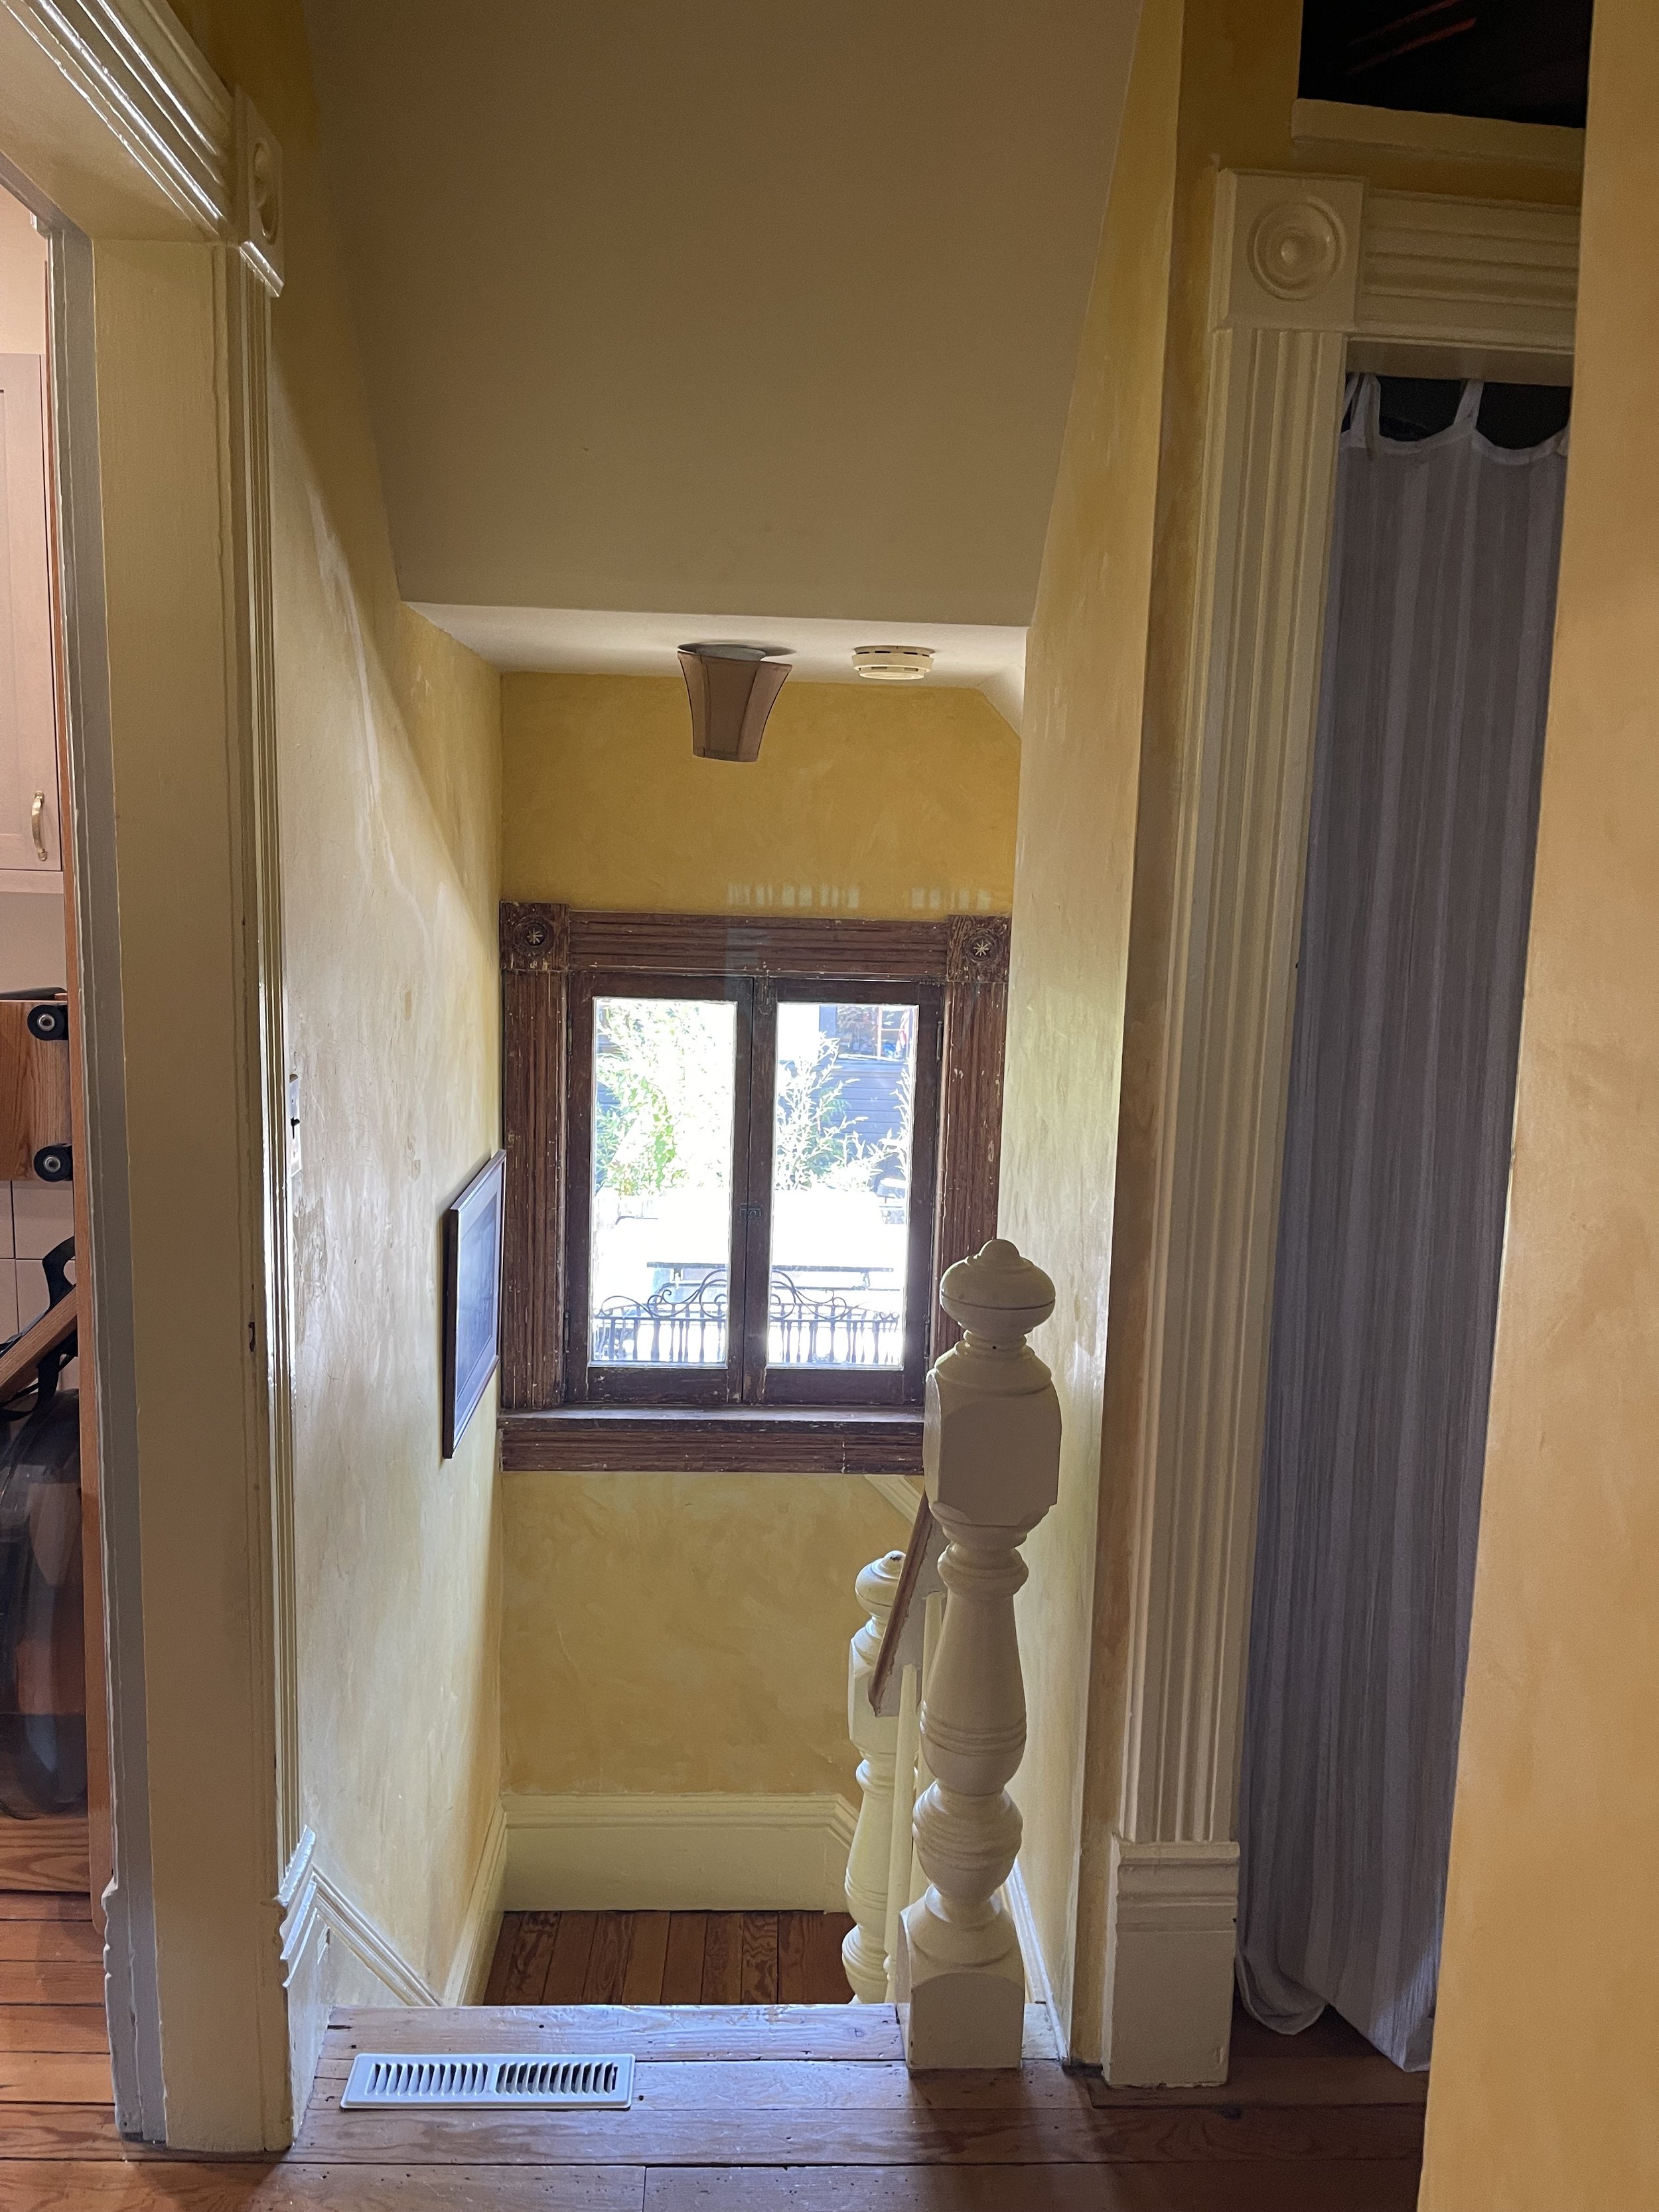
This is the “BEFORE” photo of that space.

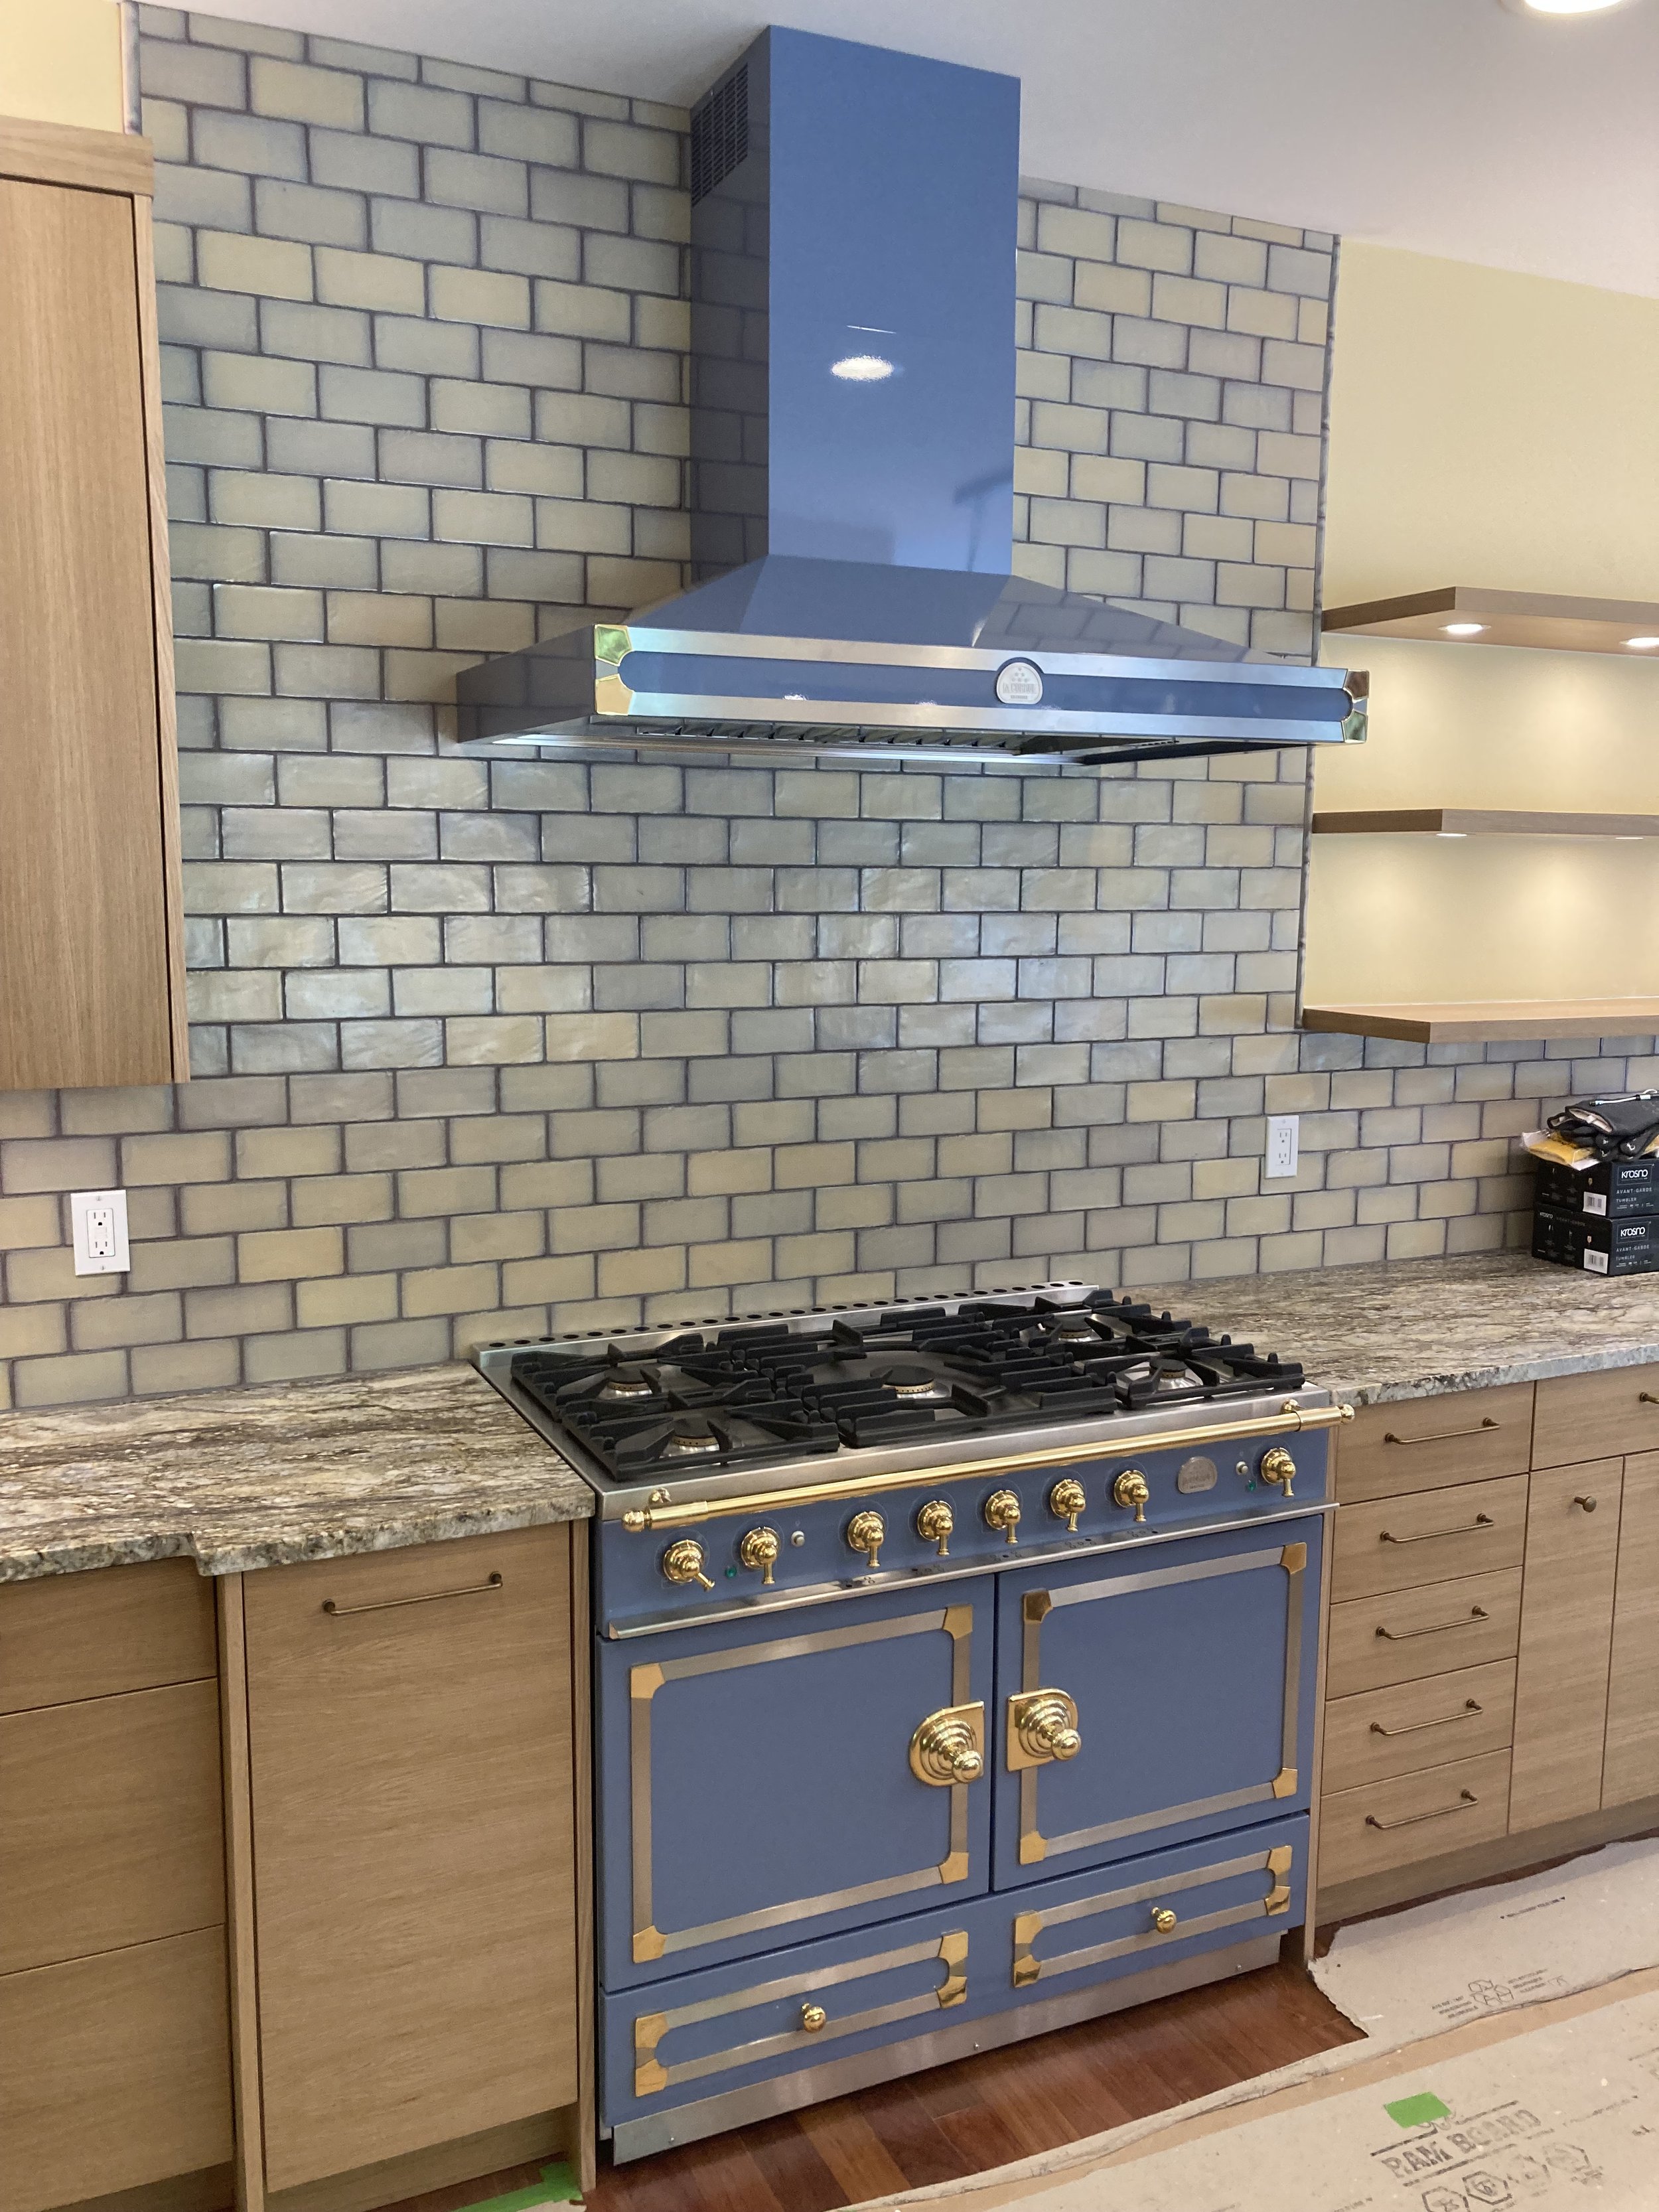
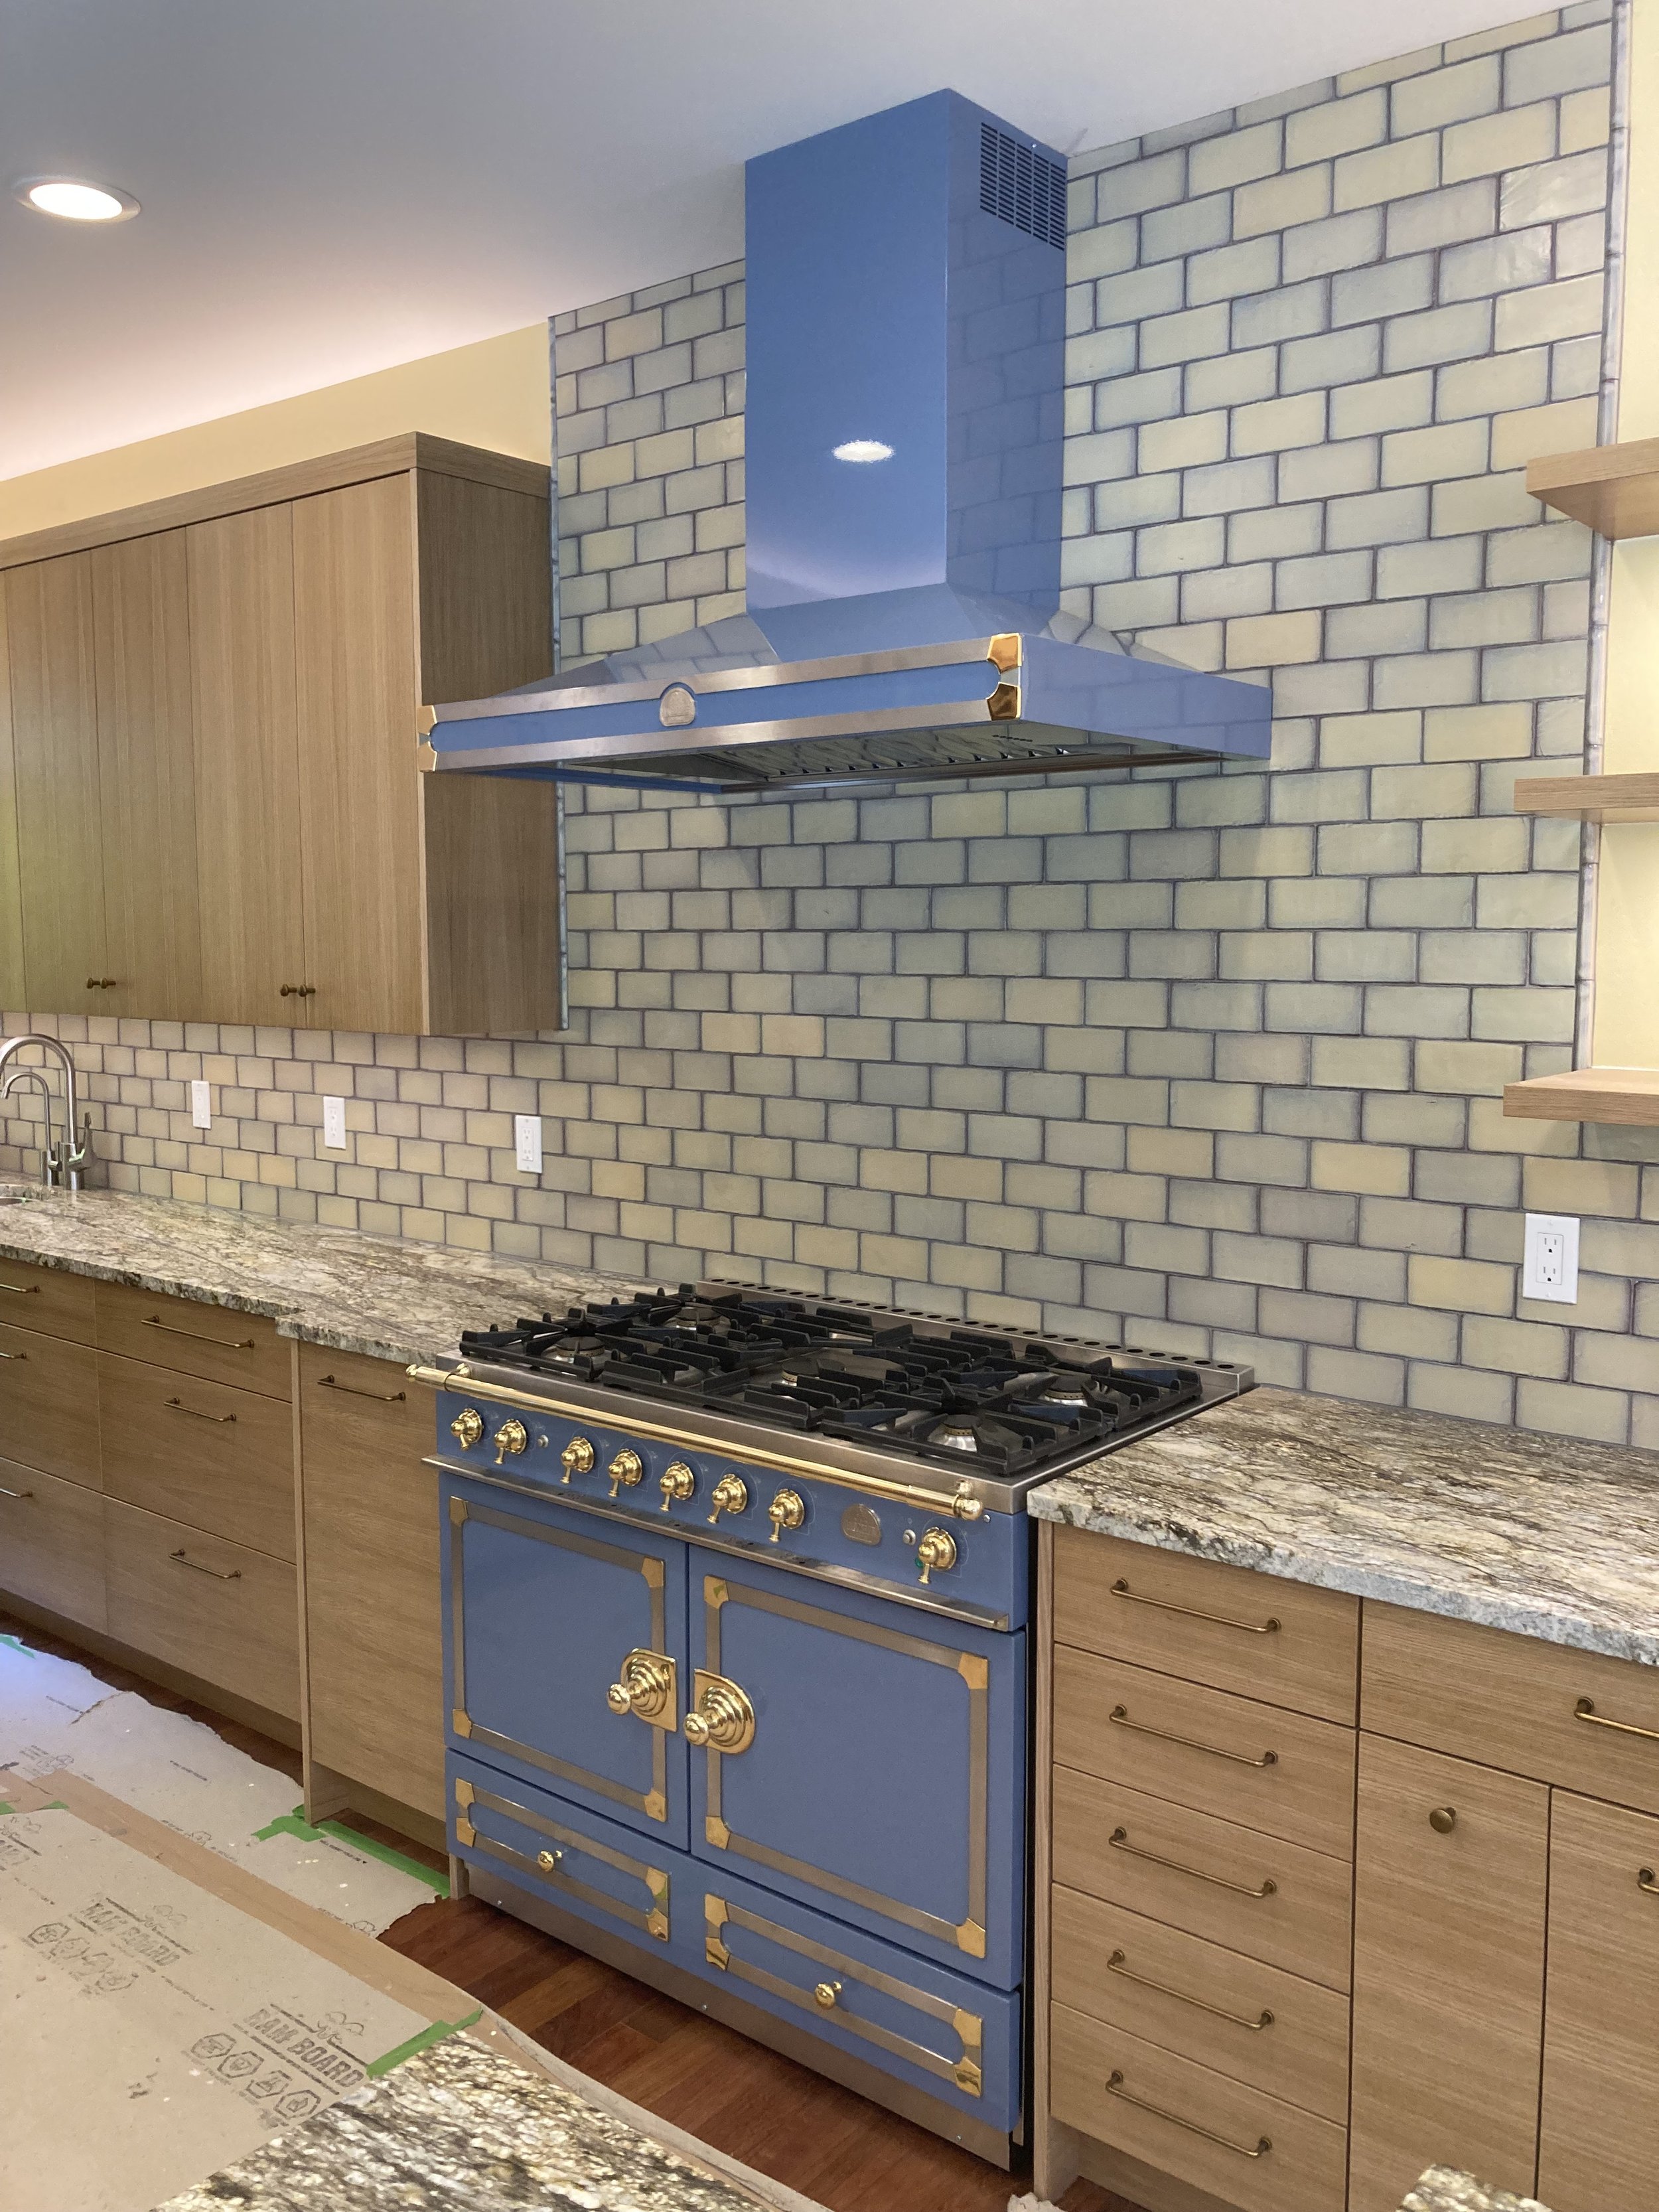
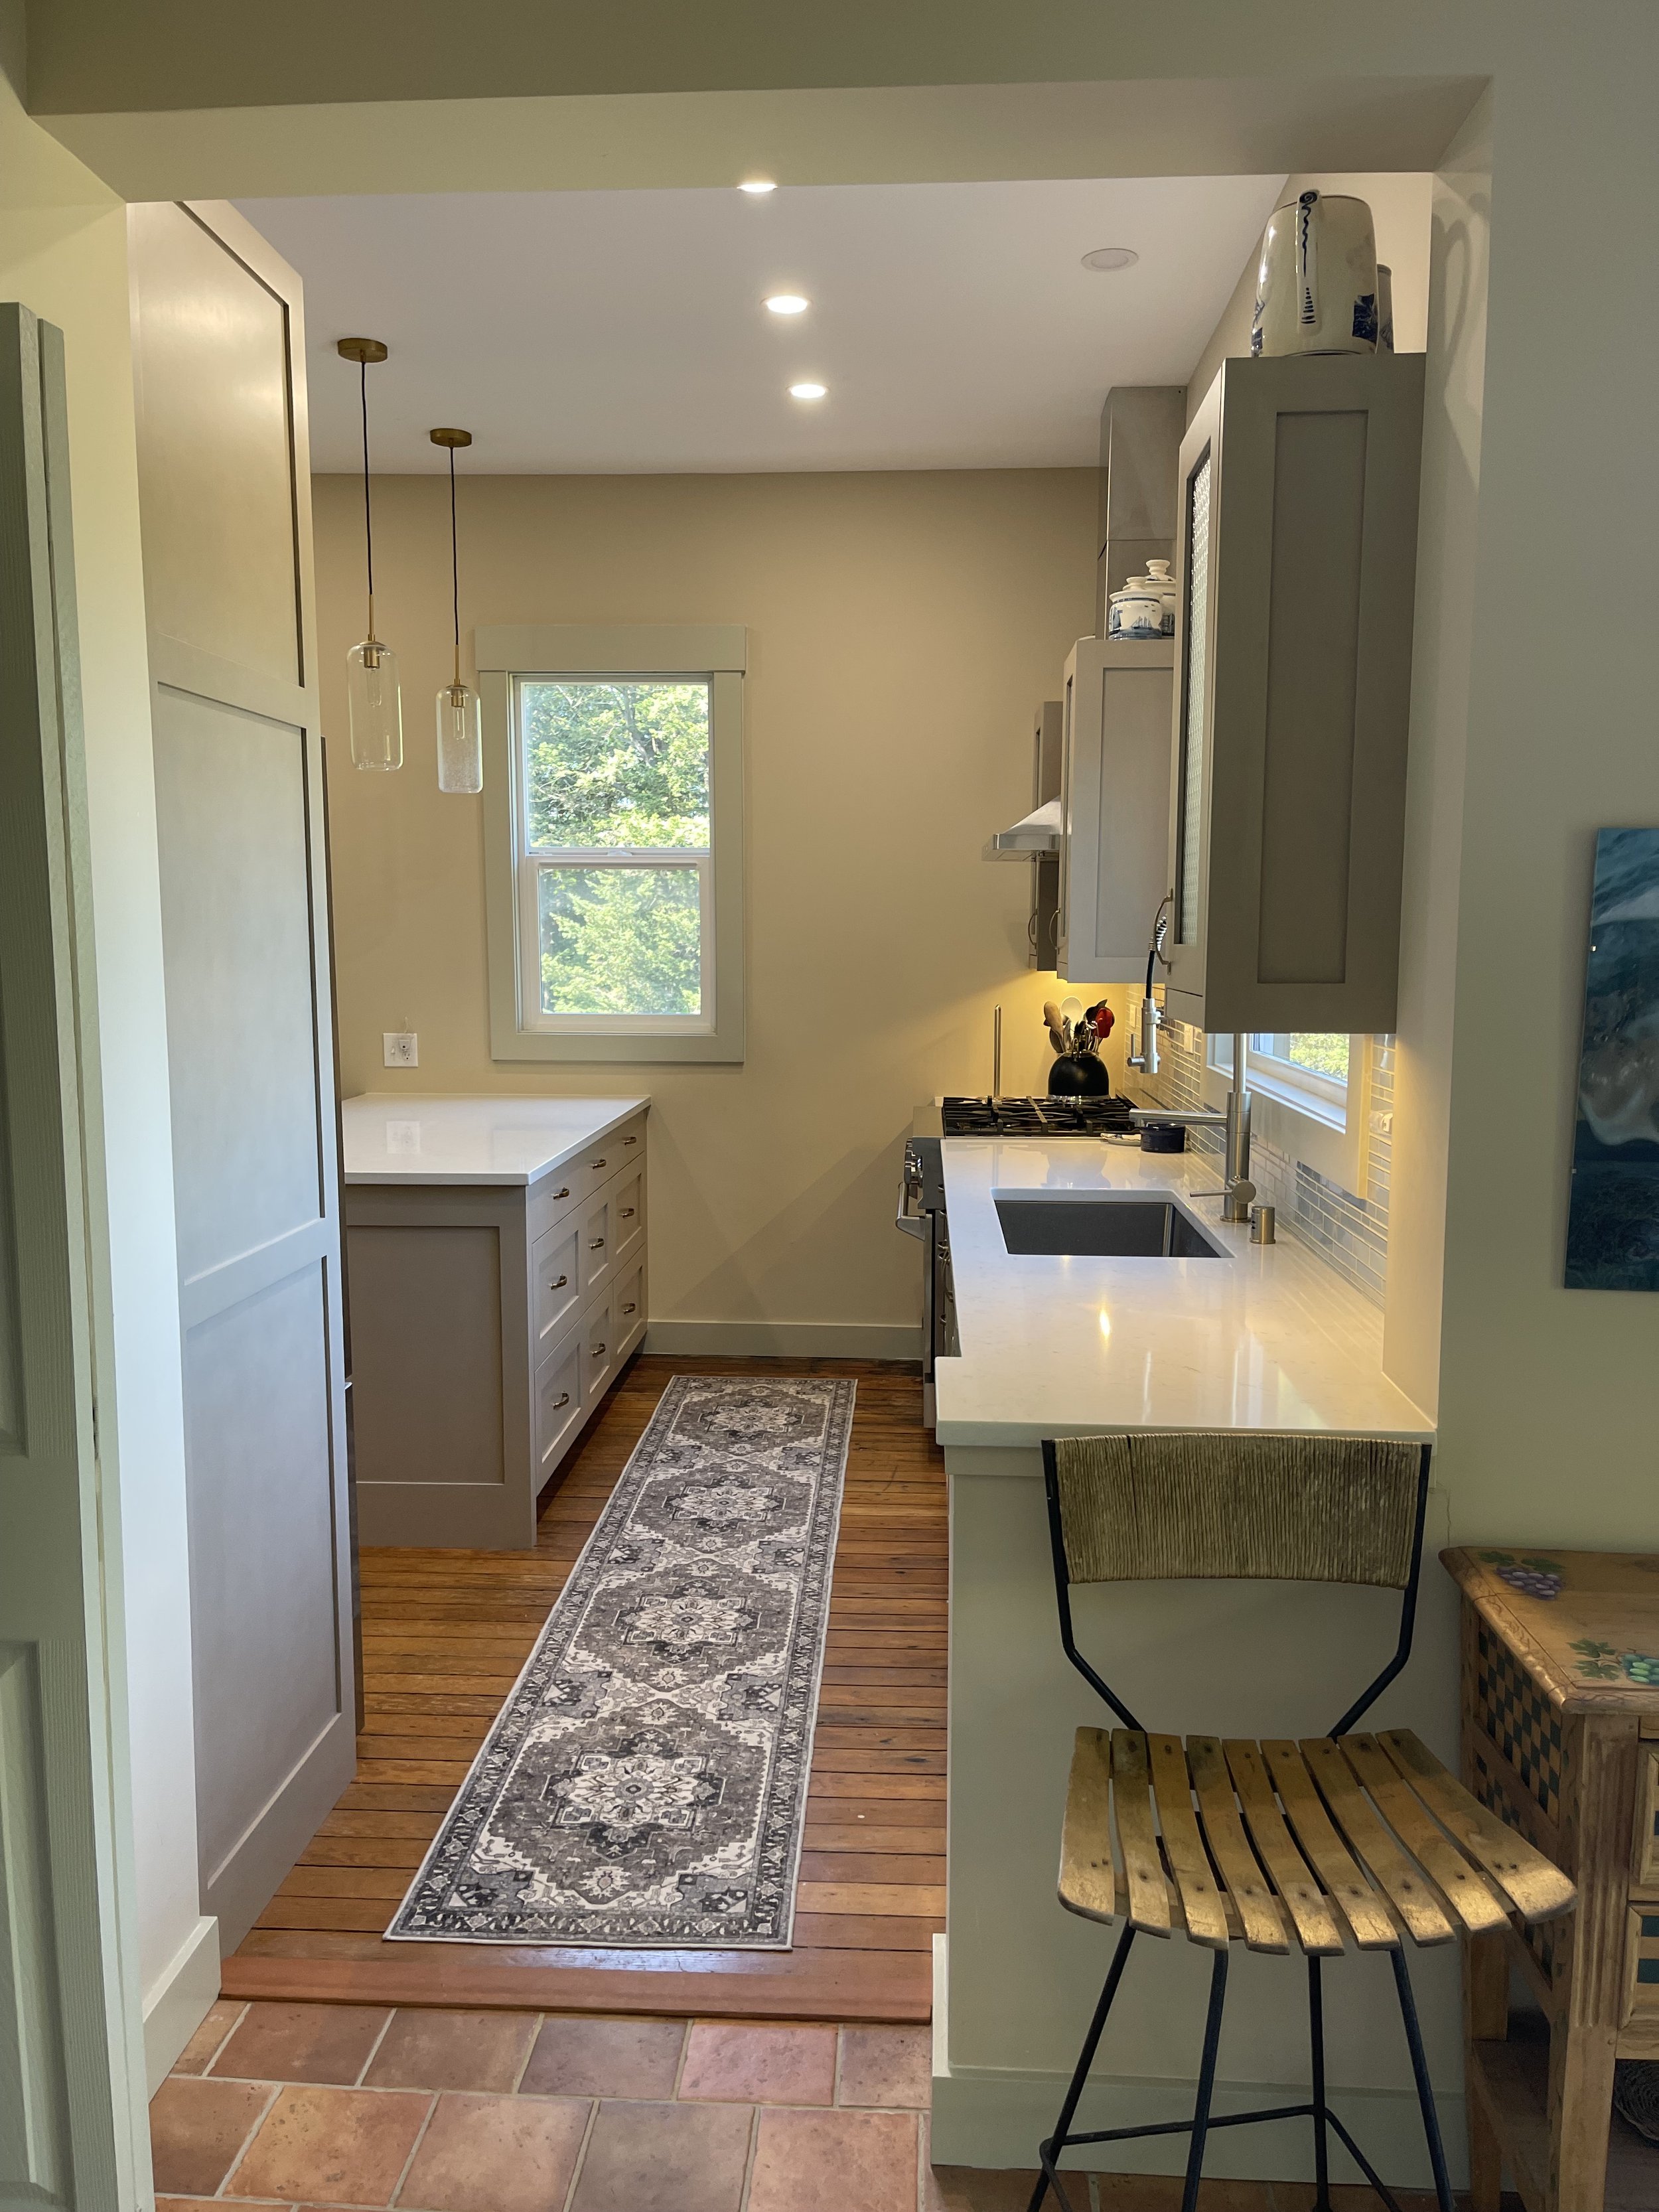
This was the kitchen before! It was shoved in the back of the unit away from the view. We flipped the kitchen to the view side.

This is the kitchen moved, after… much better eh? Wood tiles on the backsplash are the same manufacturer that I quoted before. The flooring and tile are from IndoTeak Design, a great little company in San Diego. 

Their tile line is called Cinta. 

Matt is the manager and Kim runs the showroom.

https://indoteakdesign.com

The cabinet bases are from IKEA and the fronts are from SEMI HAND MADE does really nice driftwood fronts for Ikea cabinets. https://www.semihandmade.com/

I also like the interior lights that light up the back of each drawer, so that you can see what is in there.

The pantry has loads of storage.

KITCHEN before in photos and 3D renderings on Lopez Island, WA

The layout of the house is something that the client’s parents built in the 90’s- actually 1996 to be exact. It is right on a low bluff that is 50’ from “Top of Bank”, so nothing can be added. We are trying to work within the existing shell as much as possible, but we are punching out in one corner “Under an existing deck”, so that we are not expanding the existing envelope. The Octagon currently holds the entire kitchen, with all the wasted space from the 45 degree corners that make cabinetry a bit tricky. I suggested using that space for the dining area instead of the current location and building in a window bench where people will want to be sitting there looking out over the water in 2 directions…

This would be the view when you are coming in from the entry, looking into the dining area, with the kitchen to your left. We are Option#15, and getting really close! What do you think?

This is the site on Lopez- so surrounded by water on both sides! Just Gorgeous, or what? So grateful that I get to work on such sacred land- the Coast Salish Peoples revere this area today, as their ancestors fished here for millennia and there were probably Oyster and clam farms in this bay.

This is the kitchen now,

Existing kitchen from the entry view. The window seat is going to transform this space and the new kitchen location still has fabulous views. The interior is very “Dated’ now and the son of the original owners wants to have his own signature on the house so that it feels like it is for the new generation with kids and grandchildren all there.

Roof Modeling- Gabled Dormer of Cupola?

This is a house in the Skyline neighborhood of Anacortes that has a simple gabled roof with no articulation. The owners want to give it some character and I am trying out various options in my 3D model of the house.

Another view from the side of the single gabled dormer.

Here is the Cupola Idea.

Here it is from the front- which one would you vote is best?

BLUE STOVE ALERT- It's all about the cooking altar!

The original CornuFé range, this 43" range is the center of a new kitchen that I designed for 2 artists in Anacortes. The “Periwinkle Blue” really pops out against the Rift Cut Oak cabinets- the floor is still masked off- more photos of when it is complete to follow!!!

The original CornuFé range, this 43" range is your first La Cornue love. It’s available in sixteen colors and

3 trim accent choices of Polished Brass, Satin Chrome and Polished Chrome. The CornuFé 110 features two

electric convection ovens, one of which is a seven mode multifunction oven, the other an electric convection

oven, five powerful gas burners and one large storage drawer.

Can’t wait to see it all done!

New stairway idea for Victorian in Cap Sante

My client called me a “Genius” on this one! Always nice to get that kind of compliment!

This is the same house that I did the last blog post for the interior remodel and now the owner wants to tackle the tiny staircase that has 9” treads (the part that you put your foot on- so 11” treads are standard today). The only way to get the stairway to work is to punch out the side of the structure towards the driveway (this is my 13th option on how to solve this, so went through a lot of ideas to get to this point). This still allows to park cars, and does not touch the ground- cantilvered off the side. So then I don’t have to do a “Stormwater Plan” yipee!

The stair punch out from the side

Here is a 3D model shot of the interior- there is a closet above that we donlt want to touch, so that is the main restriction.

Another view of the model to see how it is working.

Here is the house as it is now.

This is looking up into the existing stairway.

Existing stair

Right now, you open the front door and walk directly into this stair and it is tight. The new stair will turn the other direction and leave more space in the entry. You will be looking at the side of the staircase when you walk in. Much better Feng Shui! All the energy of the house will not be pulled out the front door!

The big question is why the top of the stairway has a lowered ceiling that comes down? That has to be demoed out for this to work. Also, those balusters take up space and there is only 2’6” clearance between the balusters and the wall. People were smaller in 1905! The interior doors are all 24” wide! I am going to come up with a plan to re-use the balusters somehow in other places….to be continued:-)

Thinking that the new punch out should be in a different material to contrast with the existing shingles. There is a philosophy in Historic Preservation (and I do have a Masters in Historic Preservation from Columbia University in New York) that any additions should be evident as being new. This HArdi Plank Lap Siding in “Beavertail Brown” would blend in with the existing old weathered shingles and yet give a nice detail- what do you think?

Also the “Shou Sugi Ban”, almost black could look very handsome…..any votes?

VICTORIAN REMODEL IN CAP SANTE, ANACORTES, WA

Contractor- Josh Williams of “True Built Bearing Built” in Bow, WA (www.truebearingbuilt.com) . Cabinets from “Creative Cabinets” in Anacortes (https://www.anacortescreativecabinets.com). This kitchen has come a long way from how it looked before. New Pantry, new 3/4 bathroom from powder, new Master Bath with added tub with a view! And new laundry moved to the second floor with all the bedrooms are located to save stair travel. House was built in 1905!

Same side shot but from farther back

New kitchen from the side. Brass faucet adds a nice touch.

The kitchen before was dominated by a brick fireplace that no longer was used, so that got removed and freed up a lot of real estate to use. The main window got shifted over to allow room to get the stove on the same wall, It was cluttered and the stove was below the other window before.

Before and after “Panos”

The new backsplash is glass tiles from “Home Depot”, in subtle shades of blue to reflect the water view outside. The counters are a quartzite that looks like sand, So the “Beachy” theme of sand and water drove the color choices and cabinet color. “Polar Orbit Blue” Mosaic Wall glass tiles from Home Depot: https://www.homedepot.com/p/Jeffrey-Court-Polar-Orbit-Blue-11-625-in-x-11-625-in-Interlocking-Glossy-Glass-Mosaic-Wall-Tile-0-938-sq-ft-Each-13014/316717528

By removing a side full height pantry cabinet, the kitchen got opened up to the den, and a walk-in pantry was added by shaving off some space from the old laundry/powder room.

The powder room got the laundry removed and a shower added in the same glass tiles as the kitchen backsplash- so a consistent theme of water. The owner is a sailor and has her boat in Cap Sante Marina!

Same room before as above- the laundry before. Cramped and crowded! with the toilet opposite. So the toilet and sink got flipped to get in the shower.

Old Master bath before. Sink in facing the view, but hard to see your face…

Old Master Bath

New Master Bath! The owner really wanted a tub in the bathroom, so we lowered the window sill so that one could see out from the tub. Moved the sink with a new cabinet and new focus. Re-did the shower int he same glass tiles as else where.

A closer shot of the new vanity with counter mounted sink.

And an even closer shot- I really like the open filament sconces- there was no way that we could mount a light over the mirror because of the ceiling height sloping down at the sink, and the side sconces actually get more light on the sides of the face to evenly light it to see better what is going on, eh?

New Shower with same glass tiles! The tub is only 48” long, but 30” deep- so a great Japanese soaking tub experience with small, powerful jets.

This detail shot shows the limestone flooring

Lastly, the sitting room off the Master Bedroom is pictured above before the remodel.

After- The new laundry saves dragging all the laundry down the stairs and back up again. And serves as an exercise room now! Cheers! Original wood flooring was retained.

NEW HOUSE ON DECATUR ISLAND

The client wanted to see how the interior beams looked on the Great Room, so I did a little movie.

This one is the main entry into the Great Room

Front Entry Porch

Rear of house is the view side facing the Western Sunsets with big decks and covered porches.

There are a lot of trees on the property, so this image is without all the trees. Everyone drives golf carts on Decatur, so only a small garage is needed on the side. No ferry service, have to take your own boat or a private shuttle . No cabs or Uber or Lyft. No restaurants. Real Island Living.

BLACK ON BLACK ON BLACK ON ORCAS

From the water, a black house with black roof and black windows really blends into the landscape!

Here it is from the side showing the cedar soffits and posts for nice accents. This house is still under construction and the owner is hoping to move at the end of August 2022!

The cedar soffit is very yacht like in the front porch with a satin finish stain.

Here is a detail of the side.

The Living Room Trusses turned out really nicely- Timber Scissor Trusses.

REVISITING A-FRAME AFTER 10 YEARS- one of my best projects!

Got to visit this house after 10 years on Blakley Island! This is a very hard house to photograph because of the heritage Fir trees surrounding the house and the new plantings.

This is the house 10 years ago in 2012. The owner’s dad had built the A-Frame in 1965.

This shot is the rear during construction, so that you can see the additions being added onto the sides.

The siding is a very dark Brown, almost black, so it disappears into the woods.

This was a surprise to see that where there had been a balcony, they had enclosed it and cantilevered out a guest Bedroom which really looks cool!

There are double angles here, as the columns are angled and the roof extensions are also at an angle, so from the side it looks very busy from all the visual motion- almost dancing!

The Master Bedroom Wing has an extending covered roof extending into the woods with a hot tub-how perfect!

This is the front of the A-Frame that mostly looks the same except for the wall of glass and the Dining Room Addition that looks like an airplane wing, as the house sits on a runway and the owner was a pilot. Truely a transformation! And to think that it almost got torn down…..

The front facade was clad in “Parklex” (https://parklexprodema.com/usa/) , which is a composite of paper and resin. It seems to be holding up very well. It is a smooth panel that is attached to a rain screen with exposed stainless bolts.

The original A-Frame from the air stripe. The wood shingle roof was encrusted with moss.

San Juan Island Addition survives Covid!

Oh my, what a journey this project has been! 1st of all, getting materials to an island is hard….then material prices went crazy with supply chain delays. Plywood went from $25/sheet to $125/sheet in a year. Much appreciation to my clients for sticking through it thick and thin, and figuring out a way to keep the project going. Kathleen is a designer in her own right, and has a fantastic eye for detail and color! The blackened columns on the front entry were executed by local wood working legend Joe Romano. Construction by Ivan Plaza.

The front of the house used to have an old rotted exterior stair, and the client wanted to have an enclosed interior stair that united with floors of the existing house;

Partially a 2 story space, partially a cantilevered space, the addition adds an elegant way to access the main living space which is on the 2nd floor.

The new steel railings and wood treads blend in with the Zen Esthetic throughout.

Th new Powder Room features a wall of mirror with a floating LED circle light suspended delicately in front to light the whole room.

The Master Bathroom sink features a cool sliding up Robern Medicine Cabinet, that has a hidden LED strip below to light the counter- a built in night light for the whole bathroom. LED lights also frame and highlight an antique stained glass window that the clients have saved from another house.

The Master Bedroom features a cool window Bench that will eventually look out onto a nicely landscaped garden- still in progress.

A cedar wood paneled feature stripe runs across the ceiling of the Master Bedroom from the Window bench across to the opposite wall, to create an accent feature that focuses the room down the walls on both sides.

Master Bath has a lot os hidden storage.

Kathleen loves the Japanese soaking tub and says that the jets are more powerful then her hot tub outside! It is only 48” long!!!